This post refers to a legacy version of Siteleaf.
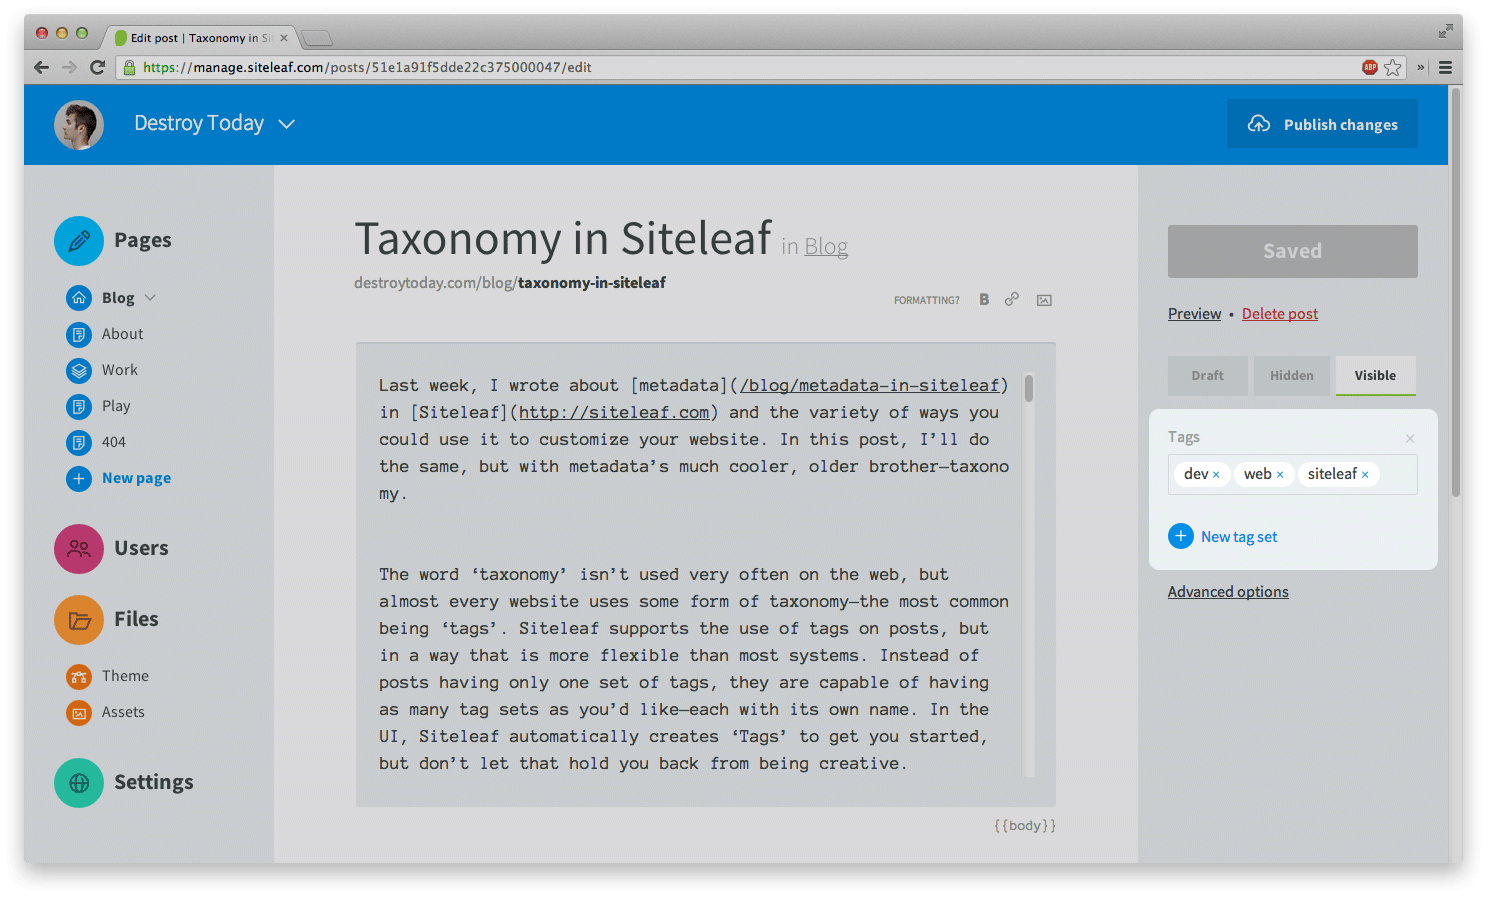
Last week, I wrote about metadata in Siteleaf and the variety of ways you could use it to customize your website. In this post, I’ll do the same, but with metadata’s much cooler, older brother—taxonomy.
The word ‘taxonomy’ isn’t used very often on the web, but almost every website uses some form of taxonomy—the most common being ‘tags’. Siteleaf supports the use of tags on posts, but in a way that is more flexible than most systems. Instead of posts having only one set of tags, they are capable of having as many tag sets as you’d like—each with its own name. In the UI, Siteleaf automatically creates ‘Tags’ to get you started, but don’t let that hold you back from being creative.
<h2>{{ title }}</h2>
{{ body }}
<ul>
{% for tag in taxonomy.tags %}
    <li>
        <a href="{{ tag.url }}">{{ tag.value }}</a>
    </li>
{% endfor %}
</ul>
Let’s start by looking at the code involved for listing a set of tags. In the code above, we’re creating a template for our individual blog posts. Because the object tied to our template is a post, we can access the taxonomy keyword and loop through the tags set. If our set were named ‘Colors’, we would use taxonomy.colors.
In each listing, we link the name of the tag to its page, using value for the text and url for the URL. Since taxonomy is more involved than key/value metadata, we have a nice list of useful variables to work with. Take a look at the theme documentation for a full list.
Now that we have a list of the post’s tags, where does each one link? Upon publishing, Siteleaf auto-generates a page for every tag, using a taxonomy template. This allows you to list all the posts that pertain to a given tag.
<h2>{{ value }}</h2>
{% for post in posts %}
    <article>
        <h3>{{ post.title }}</h3>
        {{ post.body }}
    </article>
{% endfor %}
This is a basic taxonomy template. It displays the name of the tag with a list of the tag’s posts. If the URL to our tag is /blog/tags/design, we would create this template at the path /blog/tags/default.html.
Now, tags are pretty basic. There’s nothing new here that we can’t already do with most CMSs. But, what if we look beyond tags? What could we create with custom tag sets or multiple tag sets on a single site? Let’s go through a few use-cases.
Semantic tagging
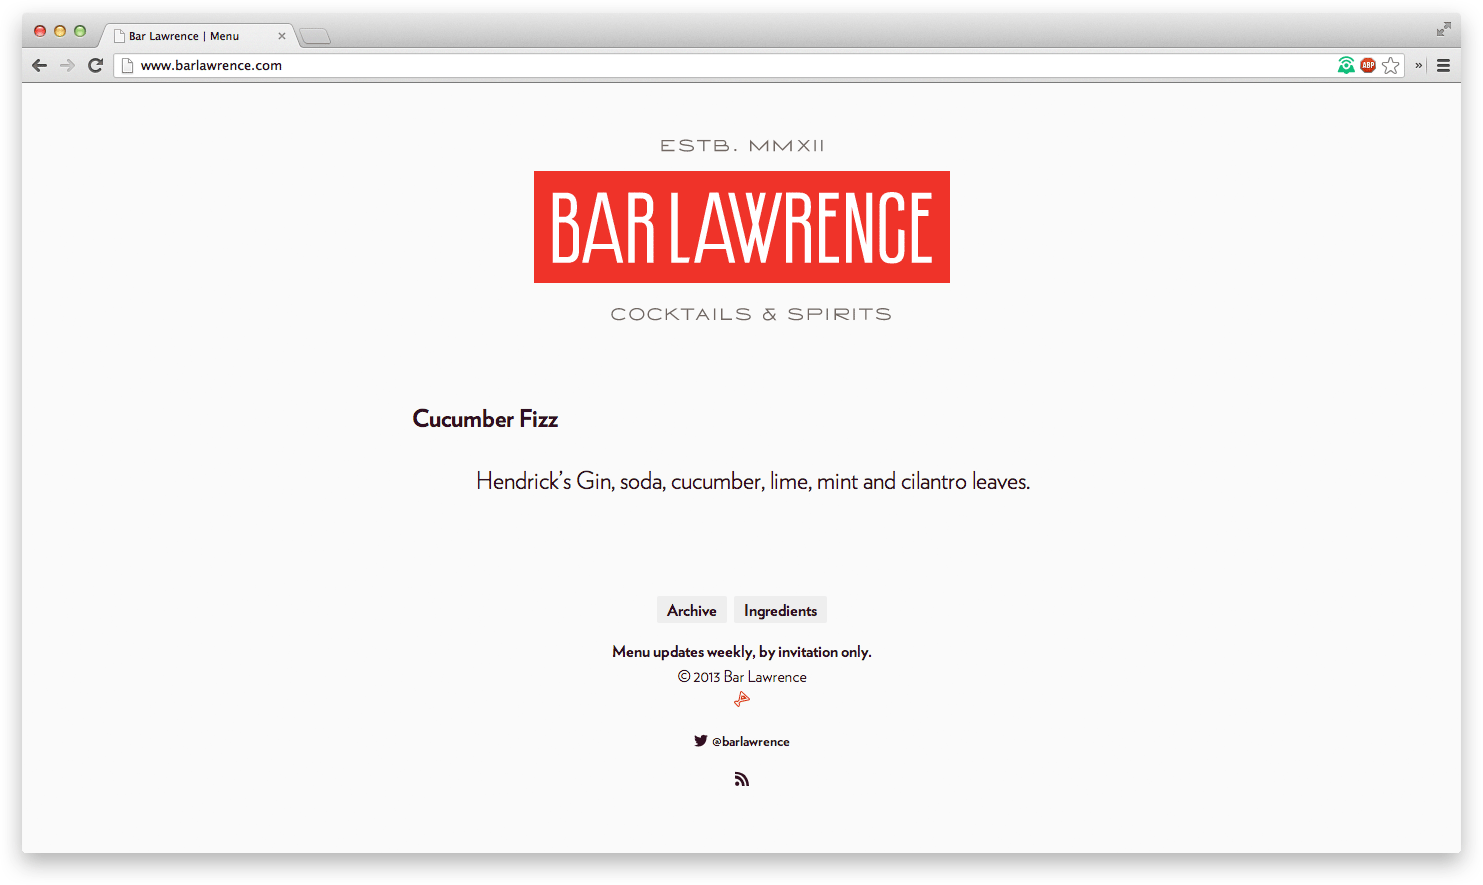
Larry Fox, fellow developer at Oak, runs Bar Lawrence, Studiomates’ provider of fine cocktails. Whether we’re celebrating a launch or putting a nail in the coffin of a long week, Bar Lawrence is always a treat.
The Bar Lawrence website runs on Siteleaf and uses taxonomy for the drink ingredients. Each drink is a post, published on the date it is served. And because Larry uses taxonomy to handle the ingredients, each one is linked and indexed.
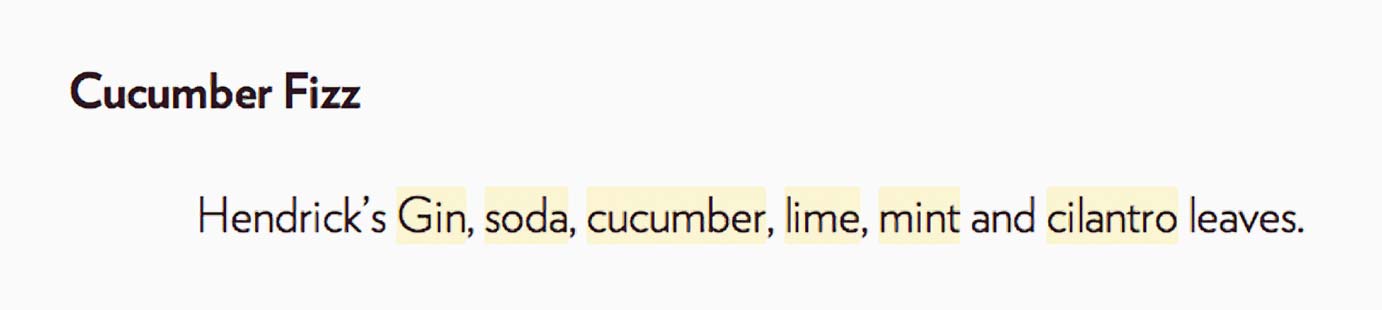
The drink listings on the website include each drink’s title along with its linked ingredients underneath. With some fancy CSS footwork, Larry designed the ingredients to highlight upon hovering the drink, indicating that you can click them to see more.
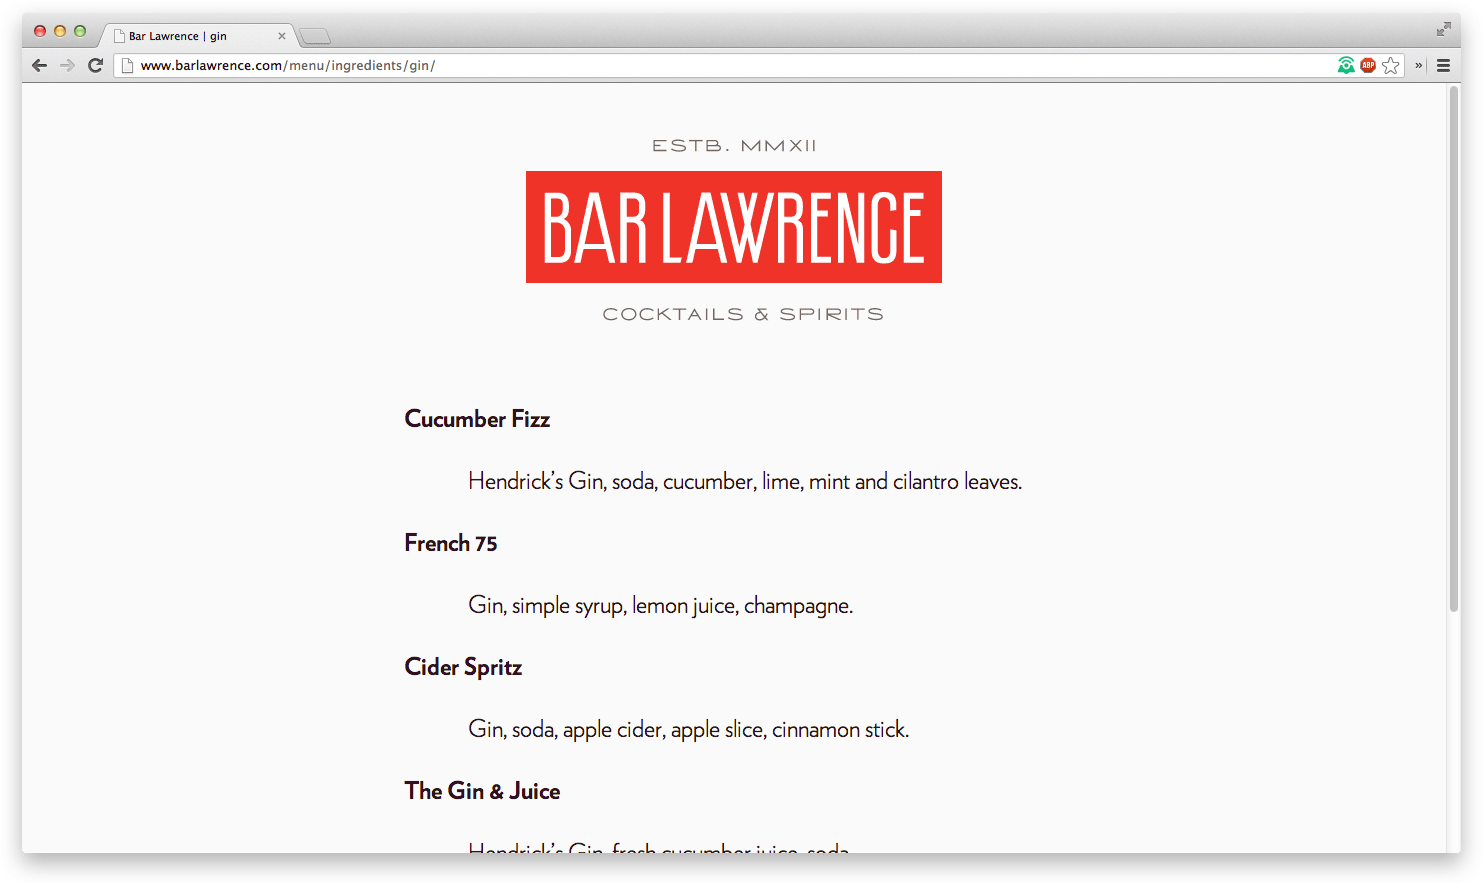
When you click an ingredient link, it takes you to a list of previously served drinks that were made using that ingredient. Larry treats his ingredients taxonomy similar to how tags relate to blog posts, but because of the custom name, his website’s URL is more semantic. Where the URL would normally be /menu/tags/gin or /menu/categories/gin, it now provides a more readable path, /menu/ingredients/gin.
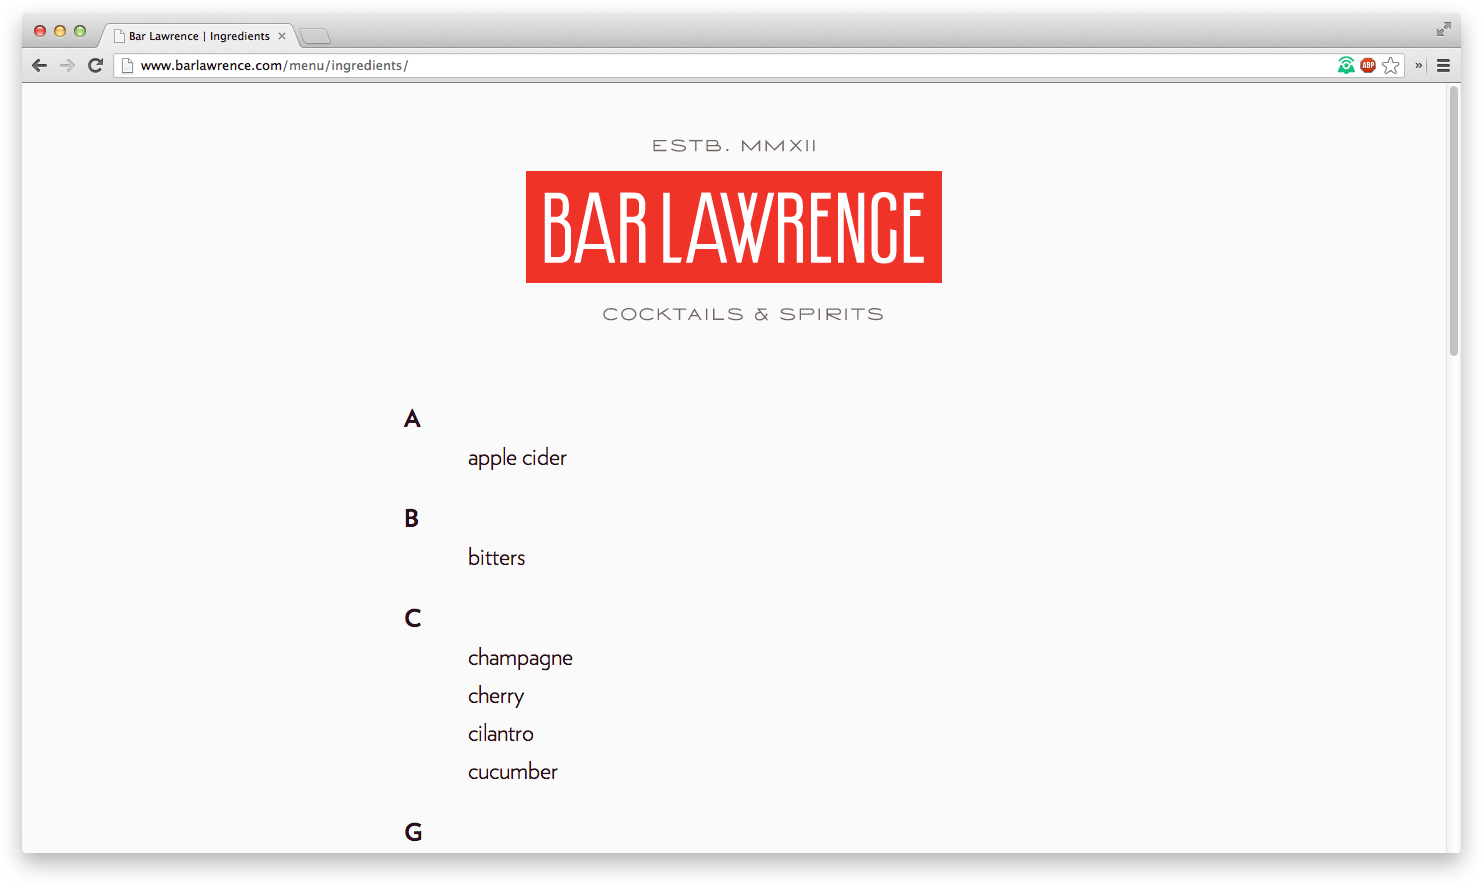
Bar Lawrence also has a full list of ingredients that serves as an index for navigating the drinks. With only a dozen lines of code, Larry has added another way to browse and explore the website. Let’s take a look at how we could create an index of our own.
{% assign sorted_ingredients = ingredients | sort: 'value' %}

<dl class="ingredients">
{% for ingredient in sorted_ingredients %}
    {% assign letter = ingredient.value | truncate: 1, '' | capitalize %}

    {% if letter != previous_letter %}
        <dt accesskey="{{ letter }}">{{ letter }}</dt>
    {% endif %}

    <dd>
        <a href="{{ ingredient.url }}">{{ ingredient.value }}</a>
    </dd>

    {% assign previous_letter = letter %}
{% endfor %}
</dl>
First, we sort the ingredients, using the Liquid filter, sort. This provides us with a new array that runs alphabetically, from A-Z. Next, we loop through the sorted ingredients and extract the first letter of each ingredient, using the truncate filter.
truncate takes two parameters: the intended length and the string to append (... by default). Since we want to cut our ingredient down to one letter with no appended string, we pass 1 and an empty string. We then use a conditional to check if the letter differs from that of the previous ingredient’s. If it does, we insert the letter into the HTML. Lastly, we insert the ingredient and link to its page.
Larry’s implementation of taxonomy with ingredients works beautifully for cocktails, but I can also see it handling even broader subjects, like meal recipes. With multiple tag sets, you could assign one for ingredients and another for meal type (breakfast, dessert, etc).
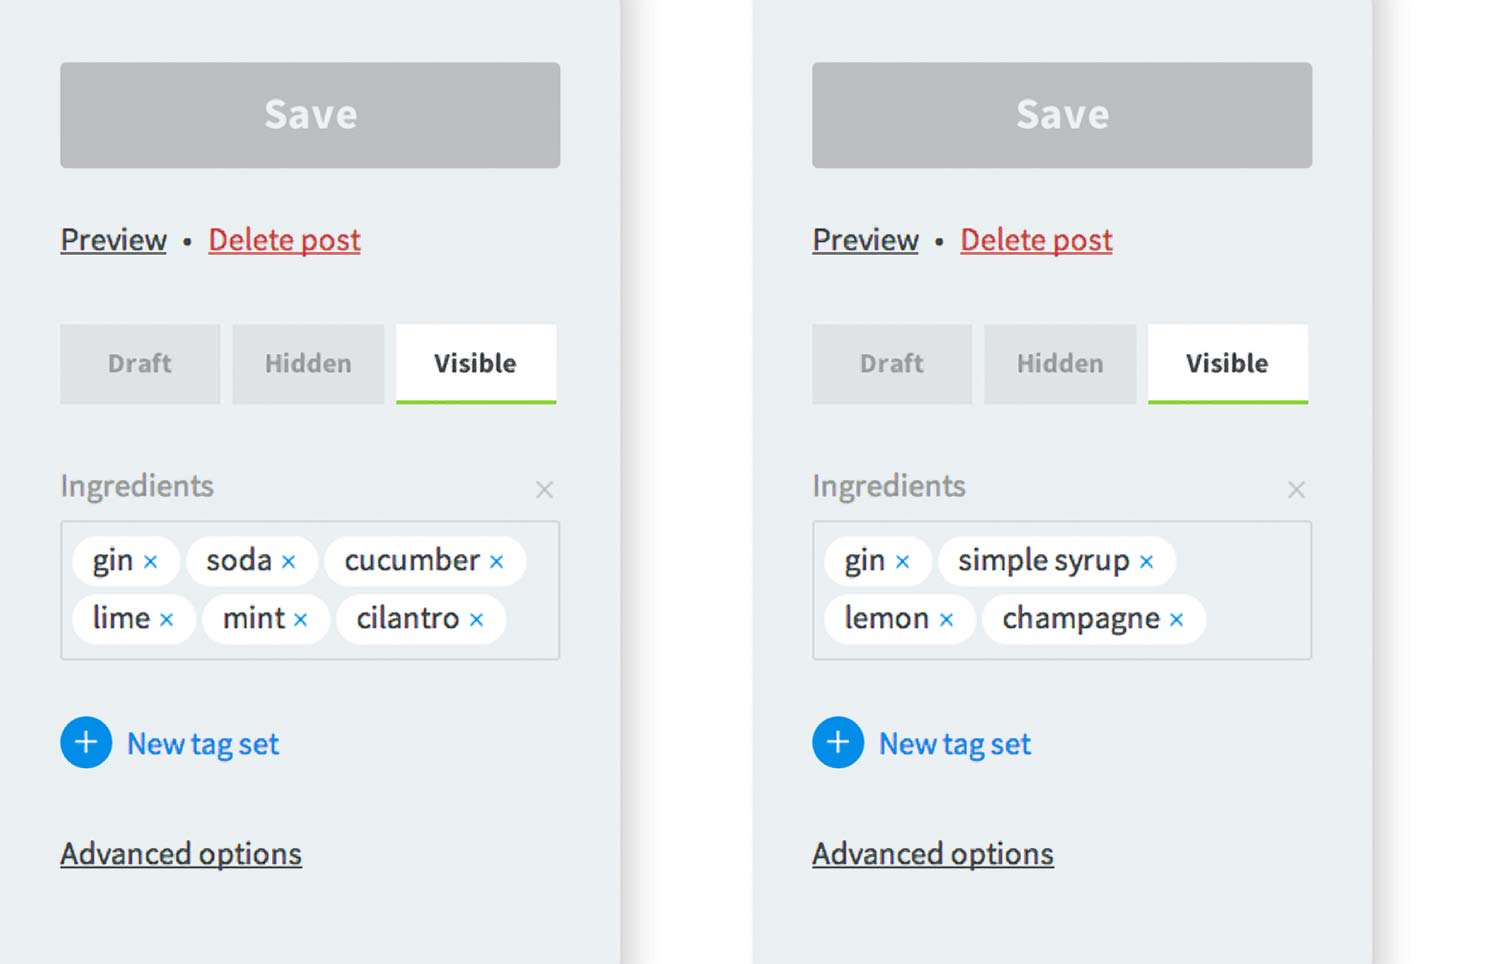
Multiple tag sets
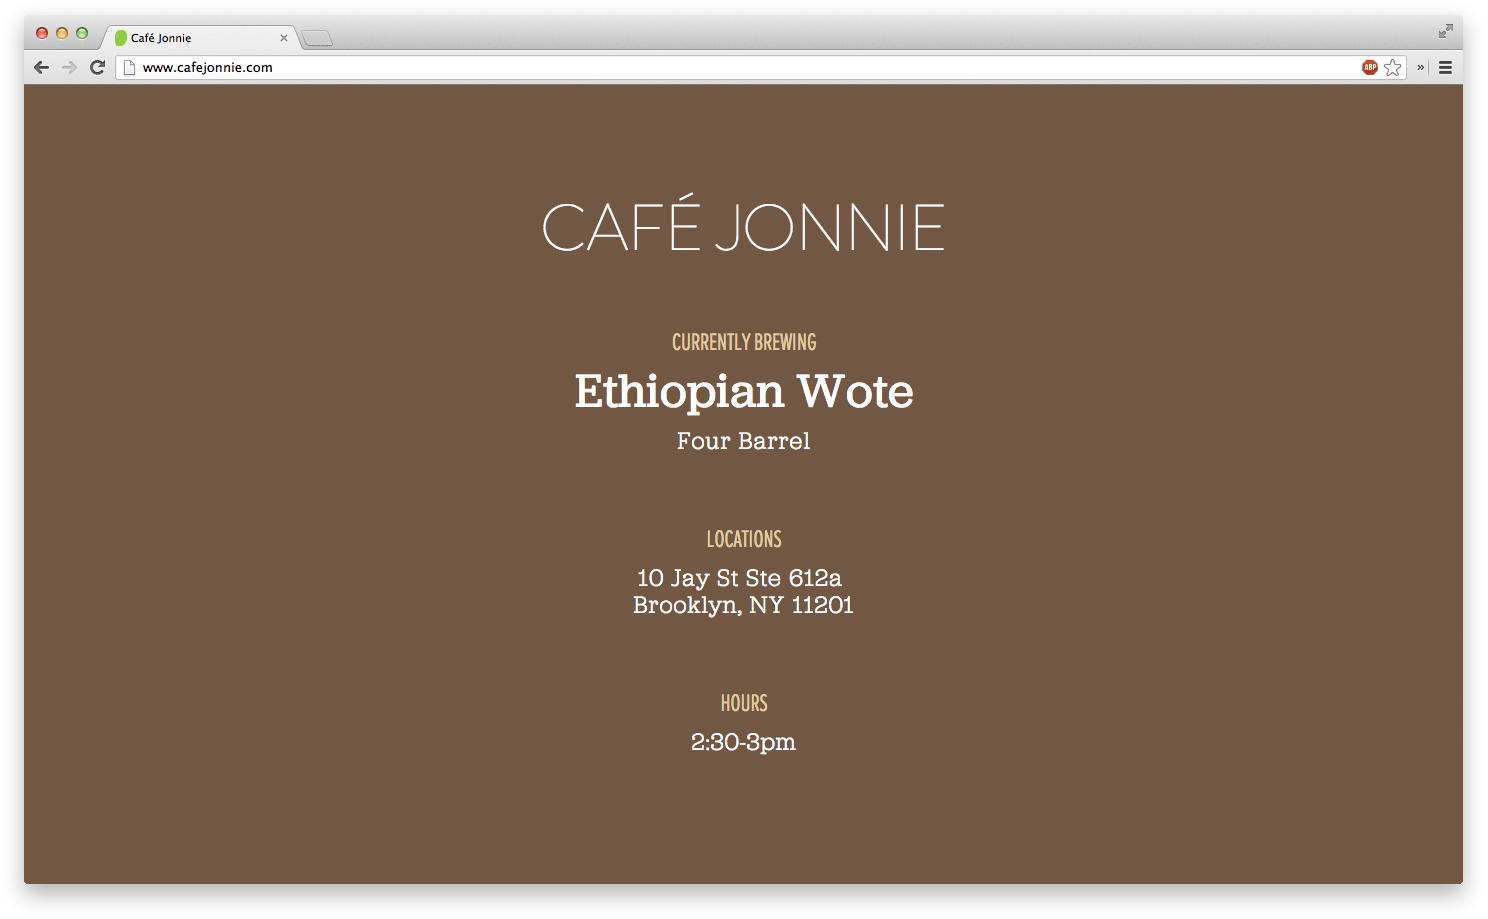
While we’re talking about drinks, let’s talk about the best one—coffee. At Studiomates, I handle the caffeine business, Café Jonnie. Similar to Bar Lawrence, Café Jonnie catalogs the drinks that are served, but lists the beans rather than the specific drinks. I could follow Larry’s lead by including the ingredients for each bag of beans, but instead, I focus on the roaster and origin.
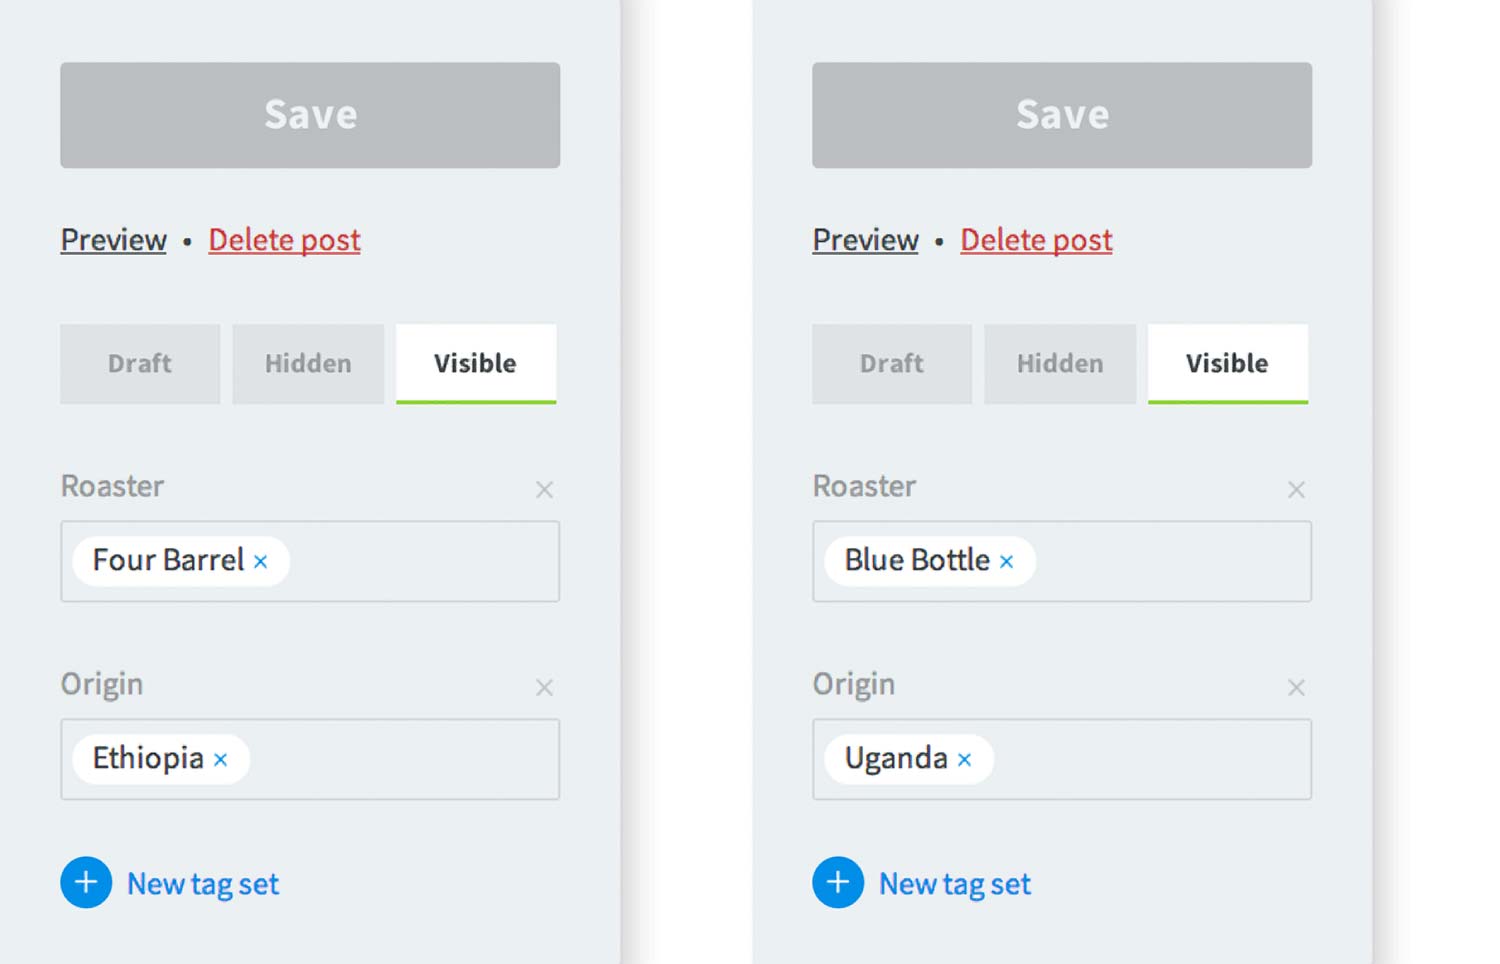
Unlike Bar Lawrence, Café Jonnie’s tag sets consist of singular values—and that’s okay. This is a use-case where we don’t need more than one value for the given tag sets. Think of the tag sets as key/value metadata, but with the linking and indexing that comes with taxonomy. With this setup, I can browse all of the beans from a given roaster or location. The taxonomy value has more of a parent association to the post.
Use-cases as inspiration
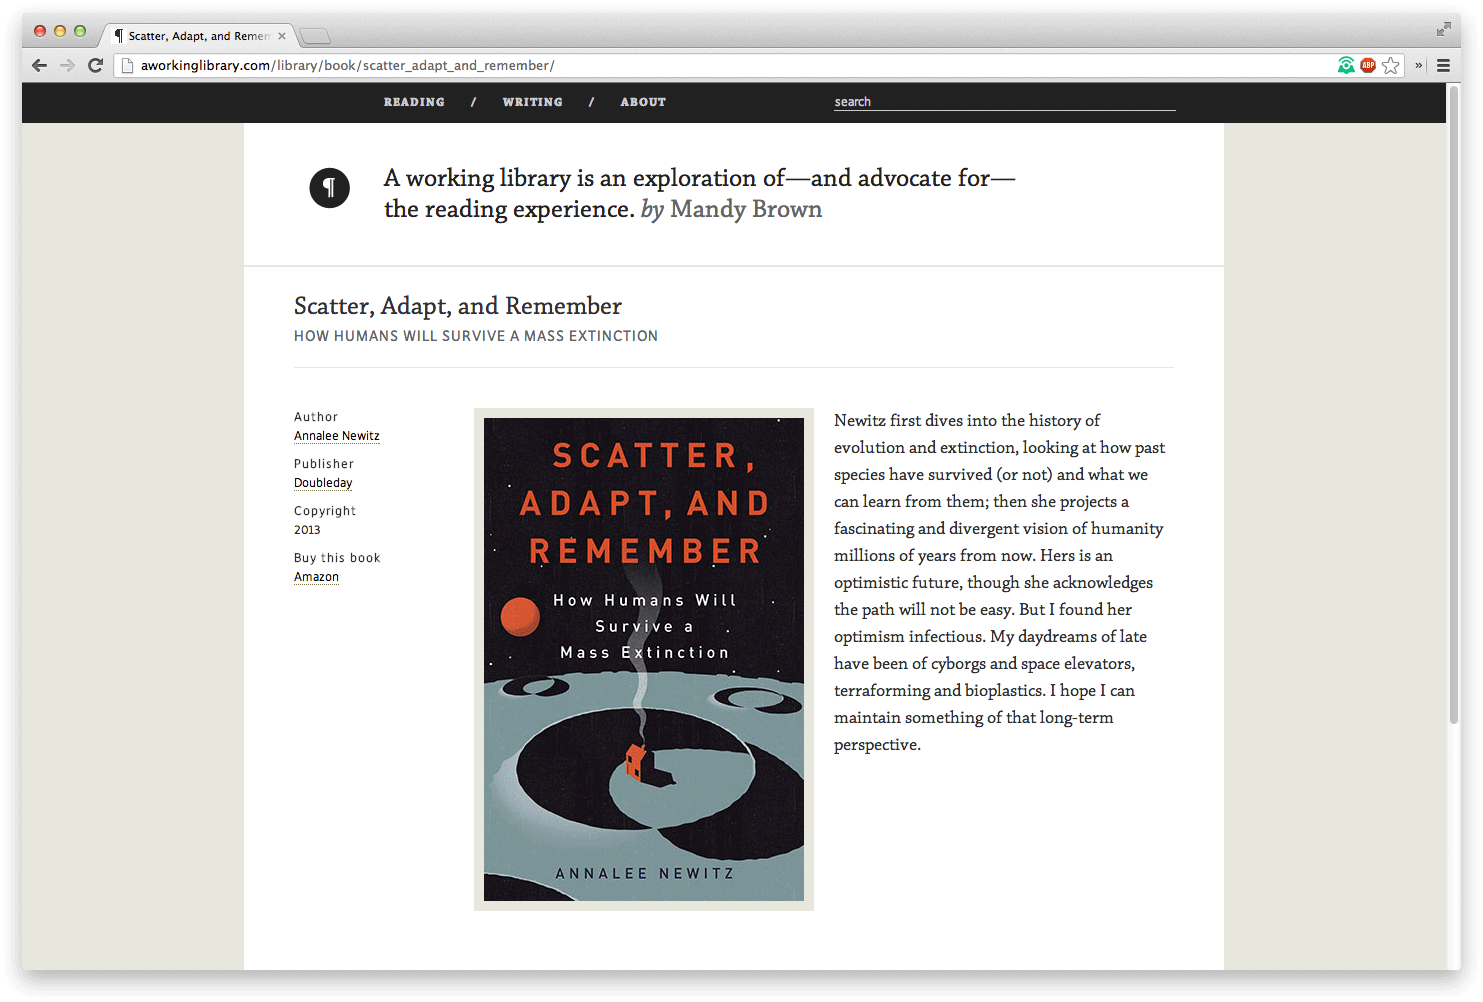
Like many of Siteleaf’s features, we designed taxonomy through use-cases. A Working Library, website of fellow Studiomate Mandy Brown, played a big role in shaping the feature. Mandy writes and reviews books on her website. In her reviews, she includes each book’s author and publisher as linked categories, so you can see a list of other books by them.
This works as-is, but it requires mixing the two fields into one group, ‘Categories’. This name could apply to anything, and it results in URLs like /books/category/doubleday. With taxonomy in Siteleaf, we could break these two fields into their own tag sets, ‘Author’ and ‘Publisher’, so our URLs could have more meaning, like /books/publisher/doubleday and /books/author/annalee-newitz.
Wrapping up
I hope this post shed some light on one of the more powerful Siteleaf features. With its ability to easily add new navigation structures, while remaining simple and flexible, I’m confident we’ll continue to discover use-cases. If you have any questions after reading this, don’t hesitate to reach out.