Watch Siteleaf for Content Managers and Creators on Vimeo
Our new series of tutorials will walk you through everything you need to know about adding content to your Siteleaf site. There’s no code involved, so you can feel confident using Siteleaf.
Familiarizing yourself with Siteleaf
When you log in to your account you’ll see something like this.
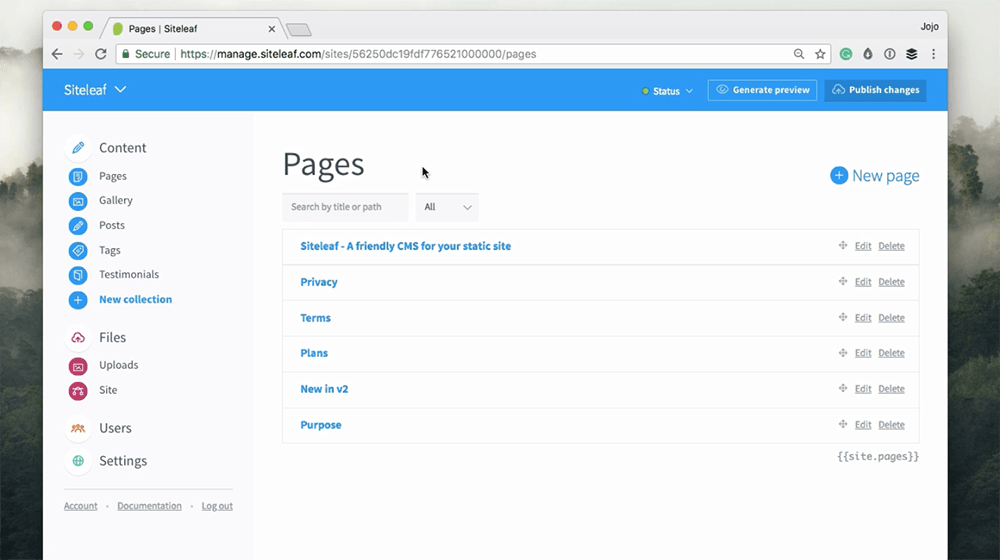
This is the Siteleaf Dashboard. The first thing you’ll notice is the sidebar. Here are the elements of your website broken down into four sections.
Content
This section is organized by collections — think of these as your main content buckets.
This site has several collections, but you may only have a few options on yours. It depends on how your site has been set up.
When looking at a new website I always click on each collection to familiarise myself with the content and then look at the published website to see how they relate.
Pages
A page is the most basic content type in Siteleaf - these might include your ‘about’ page, or a ‘contact’ page. See more about how to edit existing pages here.
Posts
As a content creator, you’re most likely to want to know about the blog. Posts are connected to the blog page on your website.
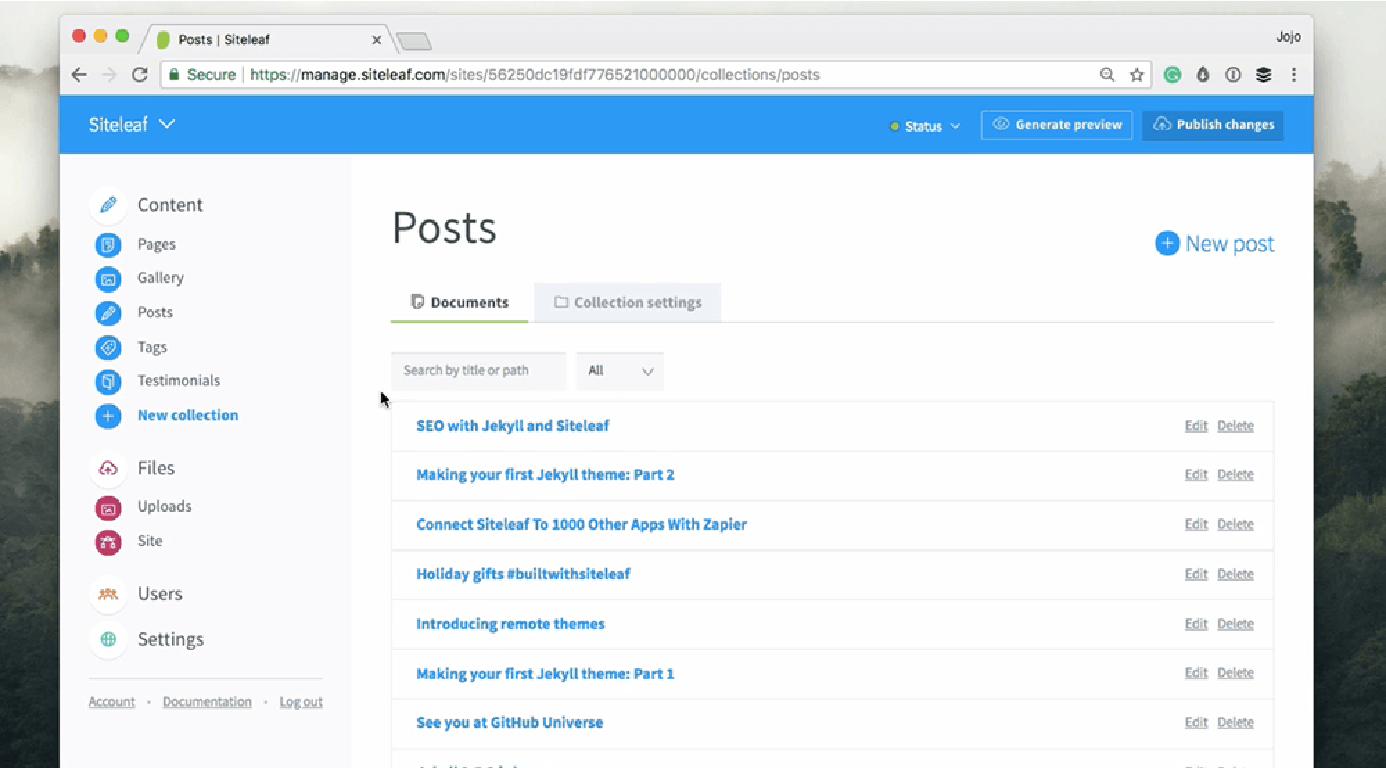
If your site does not have a blog, then feel free to ignore this section. You can click on the title of the post to edit.
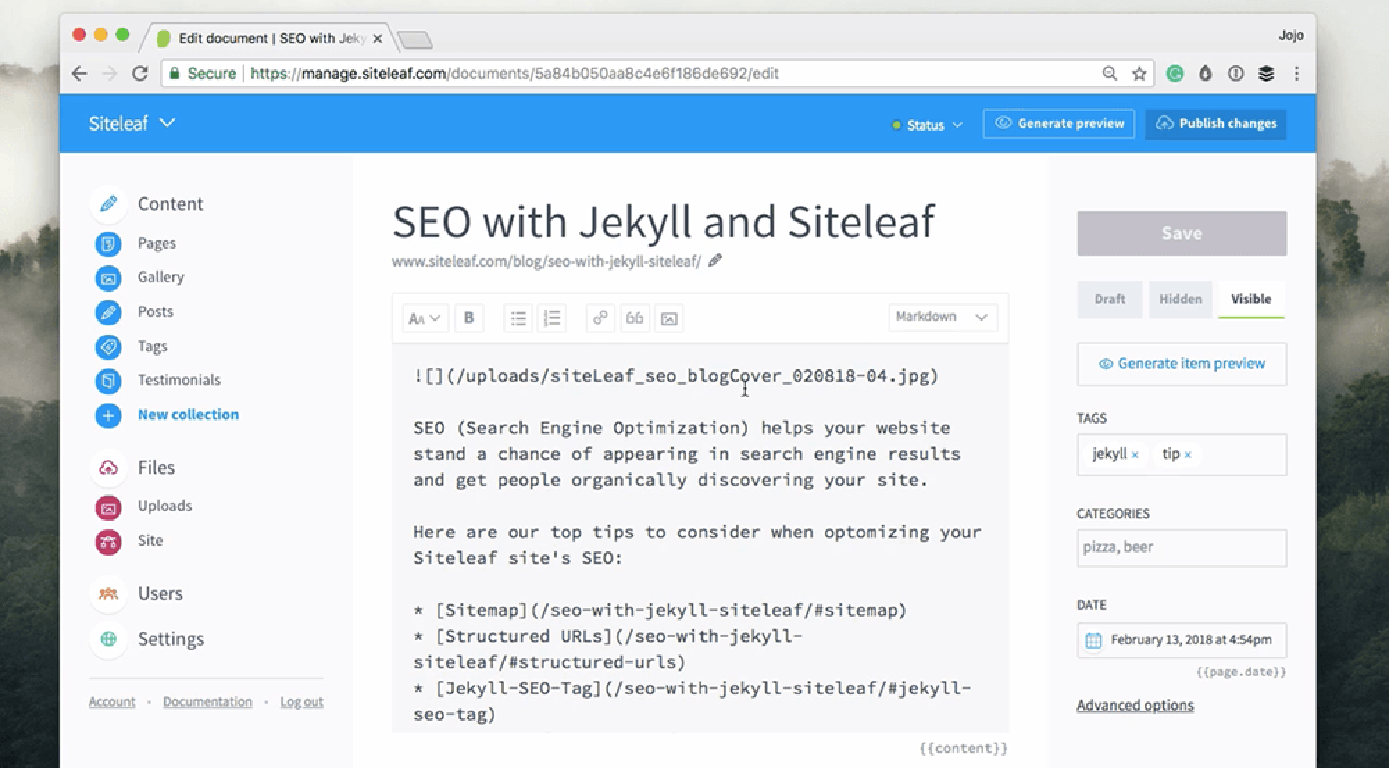
When you click through to the post you’ll see up at the top is the title, you can click on it to edit it. Underneath is the post’s URL, and you can change the slug by clicking on the pencil icon. A slug is the editable part of your post’s URL.
Here is the URL of the post:
https://www.siteleaf.com/blog/seo-with-jekyll-siteleaf/
This part is the slug:
/seo-with-jekyll-siteleaf/
Having slugs that are readable by both humans and machines is useful for SEO. Readable slugs encourage users to click on the link, because they already understand what the post is about. Also, you are signposting your post to the web crawlers. For more tips on SEO read our blog post about SEO with Jekyll and Siteleaf.
Underneath is all the main body content of the page. You may also see inputs for metadata beneath the main body content, these will vary depending on how your site is set up. We’ll go through metadata, tags, post visibility and more in our dedicated blog post video.
Files
Uploads
Here is where your uploaded images, videos and documents live. Click here to browse or search for items uploaded to Siteleaf.

Siteleaf supports all document types; from jpegs to pdfs and mp4s. You can also add new items here by clicking ‘Upload file’.
Site
This is where all the data for your site’s source files live.
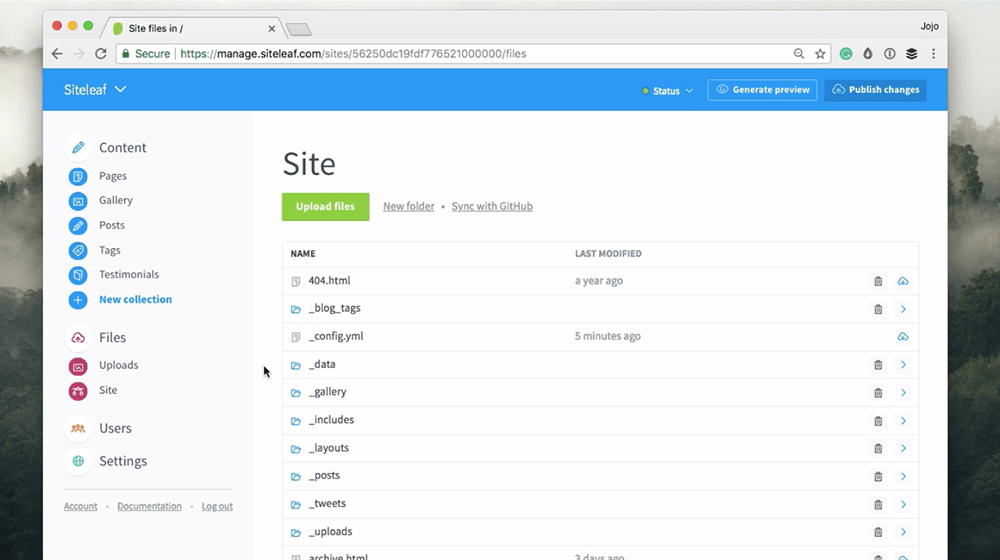
As a content creator, you aren’t going to want to touch it. And, depending on your user role, you may not see it on your Siteleaf dashboard.
Users
Here you can see who else has access to your website and what ‘role’ they have.
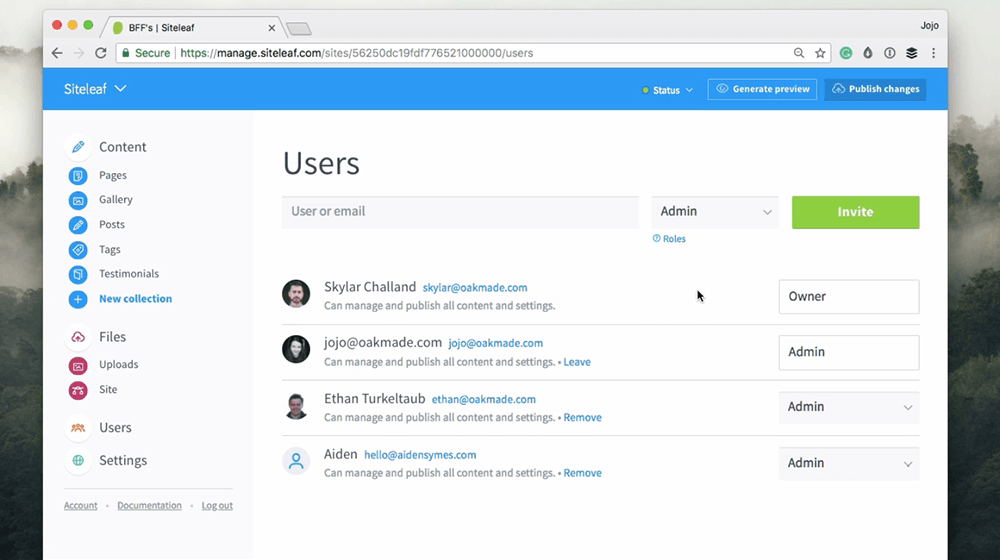
If you’re on a Team, Business, or Enterprise site plan, there are three different roles that users can be assigned. You can also add new users here by inputting their email address, assigning their role before pressing invite.
Roles
Admin
This role has full privileges which means that you can manage and publish all content. This role is great for people who are helping build the site, like a developer or designer. Admin allows users to upload theme files, change the site’s settings, and invite other collaborators.
Publisher
This is similar to the admin role but publishers can’t access theme files or the site’s settings. Publishers can manage and publish pages, posts, and uploads, but you’re protected from accidentally breaking the site’s theme.
Writer
This is the most limited role on Siteleaf. A Writer can only manage their own content, and any content that a Writer creates will default to ‘draft’ status. This means that a Publisher or Admin must approve a writer’s content first before publishing it. This role is great for sites with many collaborators who only need access to add content, like a blog post.
If you feel you haven’t got the right role for what you need to achieve on Siteleaf ask someone with the Admin role to change your settings.
Settings
Here are the details of your site’s settings.
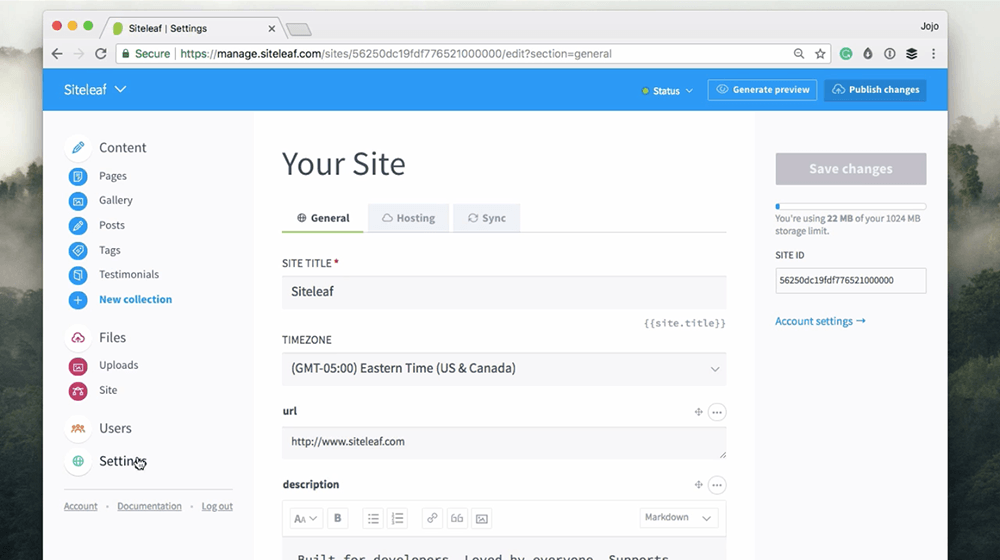
Here you can edit settings or fields your developer may have created, like social media links or SEO descriptions. The options here will depend on your individual site.
Editing existing pages
This is a great place to start getting your hands dirty. First click on Pages underneath Content and you will see something like this:
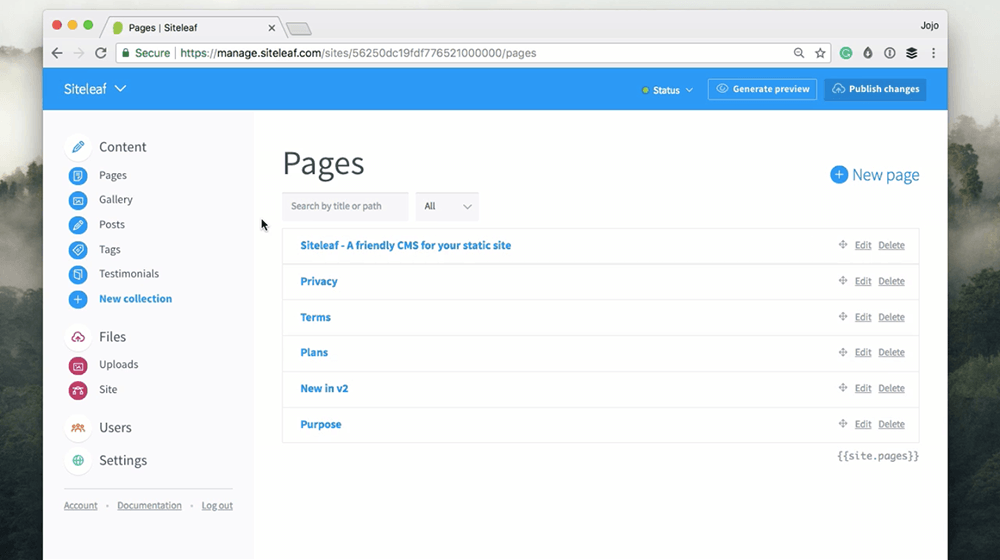
These are your website’s individual pages. You can click into each page by pressing on the title.
Also, you can reorder the pages by dragging and dropping with the arrows. You can nest a page by sliding the item to the right until you see the outline indent underneath the page you want to become the parent.
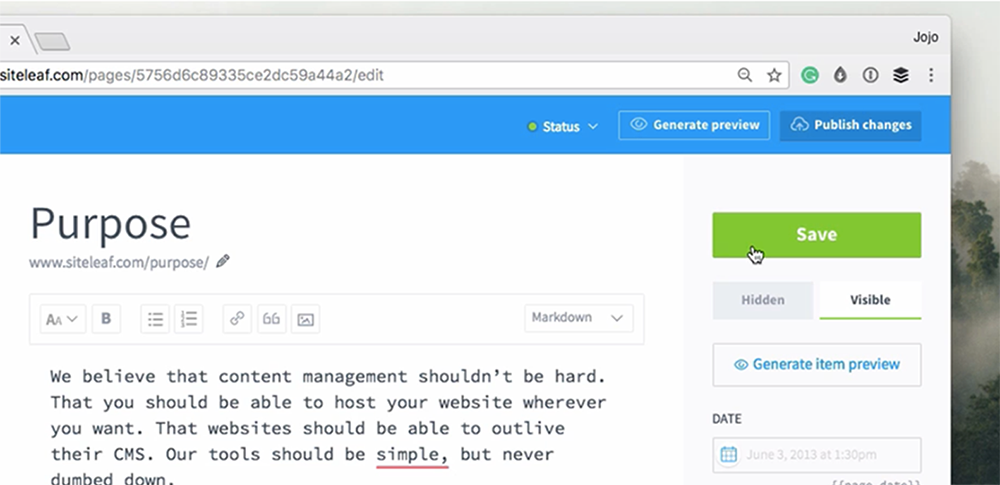
When you go into one of the pages you will see something like this:
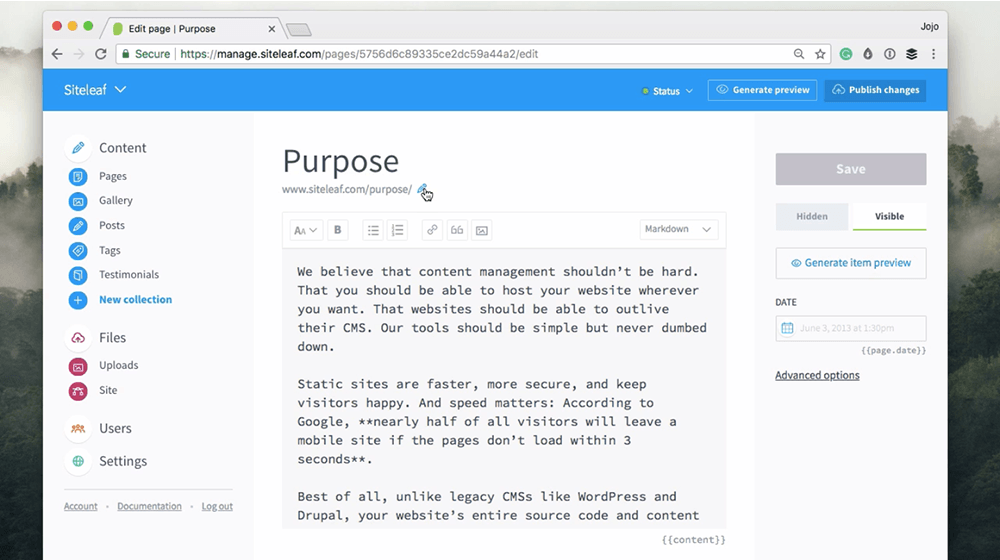
At the top is the page’s title, then following that is the URL of this particular page. You can edit this if you need by pressing on the pencil icon, like with the post earlier on.
Below is the main body text. This is where you’d write all your content for the page. Siteleaf supports Markdown formatting. We will go into Markdown in detail in our dedicated blog post tutorial.
Finally, below there may be different fields that your developer has created. These will be individual to your site and could include links to source material, header images or even background colors.
Page Settings
Pages only have two visibility options, they are either hidden or visible.
Hiding a page can be used while you are working on it. Or if you have a page that promotes your winter season you can hide that in the sweltering summer heat. If you are a Writer you will need to ask either an Admin or Publisher to make these changes for you.
Click save to save the changes that you’ve made. I personally like to check the edits before I publish. You can do that by pressing generate item preview.
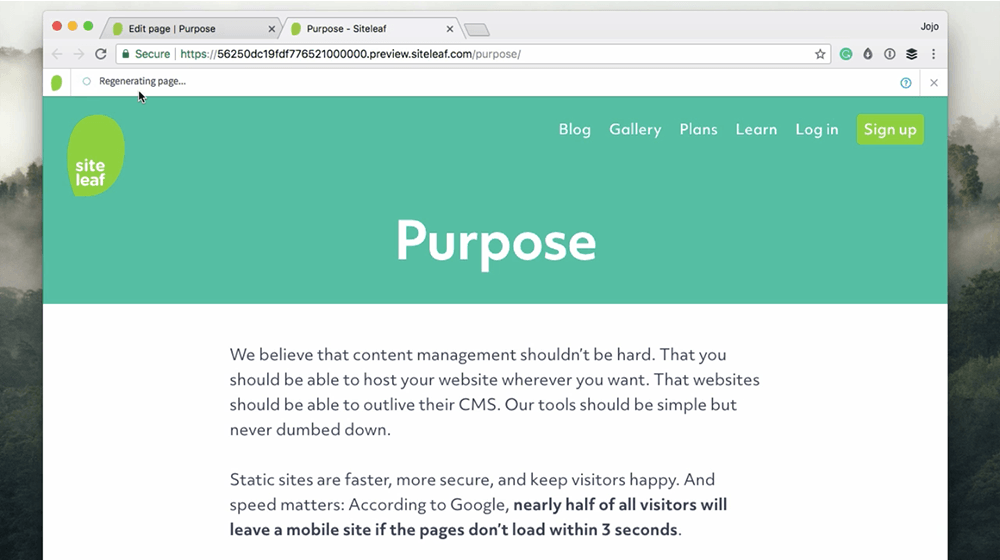
This will open up a new tab. Then you’ll see that Siteleaf is taking the changes that you’ve made and then updating the page. Once it’s generated the preview it’ll show you a message which you can click on to refresh the page with your edits. When I’m happy with these changes we can go back to Siteleaf to publish.
Publishing the page
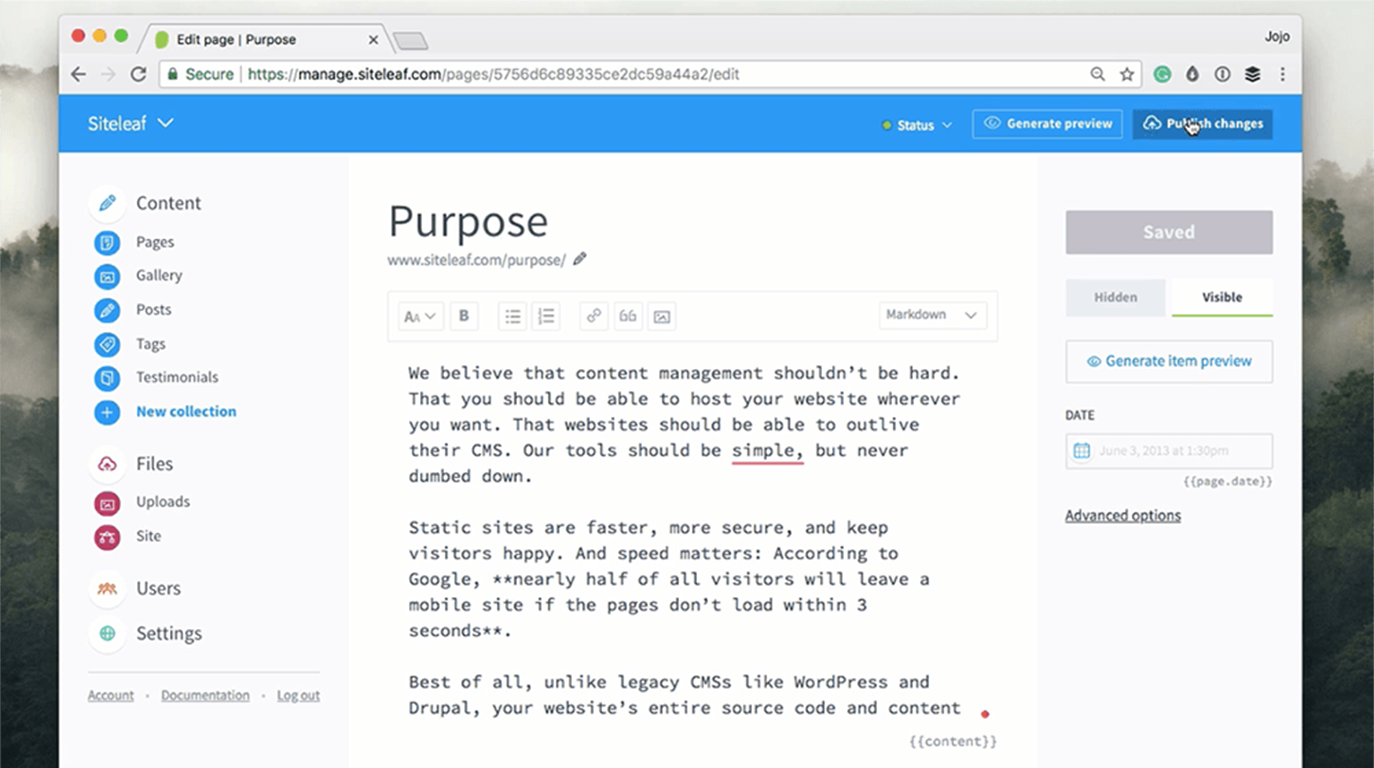
You can publish the changes by pressing the ‘Publish changes’ button in the top right-hand corner.
If you are a Writer on your site this button will not be visible. In this case, let a Publisher or Admin know when you’re ready to have your draft approved and then published.
Publishing should be pretty quick, but sometimes it takes a bit longer with a bigger website. Once it’s published you can see the changes that you’ve made on your website.
Stay Tuned
Our next video will explain step by step how to publish a new blog post in Siteleaf.
If there’s anything you would like for us to cover in our tutorials please get in touch on Twitter.