At Oak, we recently launched a new website for our friends at Collaborative Fund, built on Siteleaf. The site features a blog for their prolific content, including author and tag pages.
In this tutorial, we show you how to set up your Jekyll blog with author pages and leverage Siteleaf to maintain your content.
The approach we use in this tutorial can be easily adapted to other sets of content as well, not just authors. It also is plugin-less, which means it can be readily published to GitHub Pages on Siteleaf’s free Developer plan.
Create your collection
Jekyll collections are a powerful way to organize and manage content on your site. Collections allow you to define documents with their own properties and output a page for each, making them flexible enough to create rich author pages.
You can create collections in Siteleaf or manually in your source files.
In Siteleaf
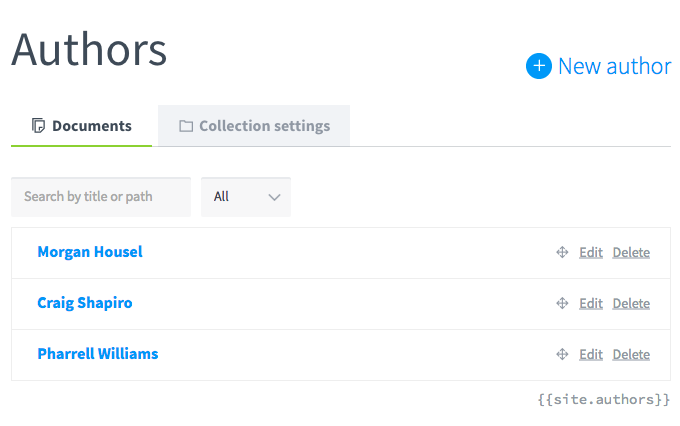
To create your collection in Siteleaf, click New collection in the sidebar of the Siteleaf UI and give it the title “Authors”. Then click New author to add a document for each author, with Title representing the name of the author.
Manually
To create your collection manually, create a Markdown file for each author in a directory _authors:
_authors/
  morgan-housel.markdown
  craig-shapiro.markdown
  pharrell-williams.markdown
In _config.yml, set the output to true so that Jekyll will generate a page for each author:
collections:
  authors:
    title: Authors
    output: true
When creating your collection in Siteleaf, the output setting is set to true by default.
Next, fill out each author document. Here, we have title (for the author’s name), twitter, and Markdown content representing the bio. This is craig-shapiro.markdown:
---
title: Craig Shapiro
twitter: cshapiro
---

Craig Shapiro is a founder and managing partner of Collaborative Fund.
Define defaults
Set the default metadata fields for each author document in _config.yml. You can define them however you like (for example, you could add a profile_image field). In this case, we’ve added a twitter field for their Twitter handle.
defaults:
- scope:
    path: ''
    type: authors
  values:
    permalink: "/blog/authors/:title/"
    layout: author
    twitter:
If you created your authors collection in Siteleaf, you could define the defaults for each author prior to adding new authors. This way, the metadata fields appear automatically in the UI for each new author.
Configure with Siteleaf
We can make it easy for content managers to specify the author for new posts in the Siteleaf UI with an autocomplete dropdown. To do so, we take advantage of associated metadata fields in Siteleaf.
Just name your field the singular author to your plural collection authors. So, a post’s metadata will look something like:
---
title: My Blog Post
date: 2010-01-19 13:24:00
author: Craig Shapiro
---
In _config.yml, set up author as a default field for each post. You can also enter a default author name if you want, for example author: Collaborative Team.
defaults:
- scope:
    path: ''
    type: posts
  values:
    permalink: "/blog/:title/"
    layout: post
    author:
This tells Siteleaf to populate each new post with that metadata field automatically. Here’s how it looks in Siteleaf:
Set up your templates
Now that your authors collection is set up and configured with Siteleaf, all you need to do is write them into your templates.
In your post template, you can display the post’s author and link to the author page.
{% assign author = site.authors | where: 'title', page.author | first %}
{% if author %}
  <a href="{{ author.url }}">{{ author.title }}</a>
{% endif %}
Then in the author page template, you can list the posts by that author as well as show other fields you’ve defined, such as their bio (page.content).
<h1 class="name">{{ page.title }}</h1>
<div class="bio">{{ page.content }}</div>

{% assign posts = site.posts | where: 'author', page.title %}
{% for post in posts %}
  {% include post.html %}
{% endfor %}
Finally, you can list all authors for your site in an index page.
<ul>
  {% for author in site.authors %}
    <li><a href="{{ author.url }}">{{ author.title }}</a></li>
  {% endfor %}
</ul>
Recap
You did it! You now know how to:
- create an authors collection
- define metadata fields for each author
- configure Siteleaf with an autocomplete author field for new posts
- set up your post template to display the post’s author and link to their page
- set up your author page template with relevant author information
- set up an author index template to list all authors
Next steps
Stay tuned for the next tutorial in this series, where we’ll show you some approaches for working with tags in Jekyll and Siteleaf.