Watch Jekyll from Scratch on Vimeo
This tutorial was created using Jekyll version 3.1.6. Newer versions (3.2+) will give you a theme by default instead of _layouts and _includes. For the purpose of this tutorial you may want to downgrade to Jekyll 3.1.6 (to remove other versions, run gem uninstall jekyll). Stay tuned for a future tutorial on themes!
In this tutorial, we’ll show you how to get set up and develop websites locally using Jekyll. We’ll cover installation, creating a new site, file structure, and finally we’ll commit the new site to GitHub.
This will give you a functional website that you can edit offline. Also make sure to check out the next tutorial where we’ll connect our site to the new Siteleaf v2 so we can edit content in the cloud.
What is Jekyll?
Jekyll is a static website generator built on Ruby. It takes Markdown text (your site’s content) and Liquid templates (your site’s theme) and outputs simple HTML that can be hosted pretty much anywhere.
It’s also what powers GitHub Pages, which serves more than half a million websites.
Getting started
To get started, we are going to install Jekyll, which is available to download as a Ruby gem. We’ll be following the quick-start instructions on Jekyll’s website.
So let’s open the trusty command line.
First, you’ll want to make sure you are running a recent version of Ruby. You can confirm by running the following command:
$ ruby -v
The latest stable version is 2.3.1, but anything above 2.2 should be fine. If you need to upgrade, we recommend using something like rbenv to make it easy.
So now to install Jekyll, we’ll run:
$ gem install jekyll -v 3.1.6
Creating a site
Now that we have Jekyll installed, we can create a new site by running:
$ jekyll new my-site
Feel free to replace my-site with whatever you’d like to call your site.
Jekyll will automatically create a folder for the new site, so let’s change directory:
$ cd my-site
Jekyll will give you its default theme which is a great way to see how it works. So open this folder in your favorite text editor and let’s have a quick peek at its file structure.
Jekyll file structure
Site config
The first file we’ll look at, and probably the most important, is _config.yml. This file contains all your site settings, including title, description, url, and any other metadata you’d like to include in YAML format.
It should look something like this:
# Site settings
title: Your awesome title
email: your-email@domain.com
description: > # this means to ignore newlines until "baseurl:"
  Write an awesome description for your new site here. You can edit this
  line in _config.yml. It will appear in your document head meta (for
  Google search results) and in your feed.xml site description.
baseurl: "" # the subpath of your site, e.g. /blog
url: "http://yourdomain.com" # the base hostname & protocol for your site
twitter_username: jekyllrb
github_username:  jekyll
These settings can be referenced in Liquid using the site prefix, for example: {{site.email}}
You can refer to Jekyll’s excellent documentation for a full list of configuration settings.
Templates & partials
You should see a pair of special folders called _includes and _layouts, this is where your Liquid files will go.
Includes are great for small bits of reusable code, and Layouts define how a page will render.
Collections & documents
One of Jekyll’s most exciting features is Collections, which is essentially a folder of text files (called Documents). Collection folders always start with underscore, and by default you’ll see a collection called _posts which is designed to behave like a blog.
Inside the _posts folder, you should see a sample post called “Welcome to Jekyll,” containing some Markdown-formatted text.
Posts are special, and are named using the format YYYY-MM-DD-title.markdown.
As another important distinction, all documents and pages start with a block of YAML called front matter. This is what separates static files from those that are processed by Jekyll. Similar to the config file, front matter contains your document title, date, and other metadata. You can also use front matter to reference the layout you’d like to use.
Your default post should look something like this:
---
layout: post
title:  "Welcome to Jekyll!"
date:   2016-06-11 18:20:24 -0400
categories: jekyll update
---
You’ll find this post in your `_posts` directory...
Output
Another special folder you’ll come across later is _site. This is where Jekyll stores its compiled HTML files. Once built, these files can be uploaded directly to an FTP server for hosting.
If using Git, you’ll generally want to use a .gitignore file to avoid checking in the compiled _site folder.
That’s just a quick overview of the file structure, for a more in-depth look see: https://learn.siteleaf.com/themes/structure/
Local preview
Now that we’ve looked under the hood, let’s preview our Jekyll site:
$ jekyll serve
By default Jekyll will serve on localhost port 4000. We can open this up in a web browser, and take a look at the default theme and content.
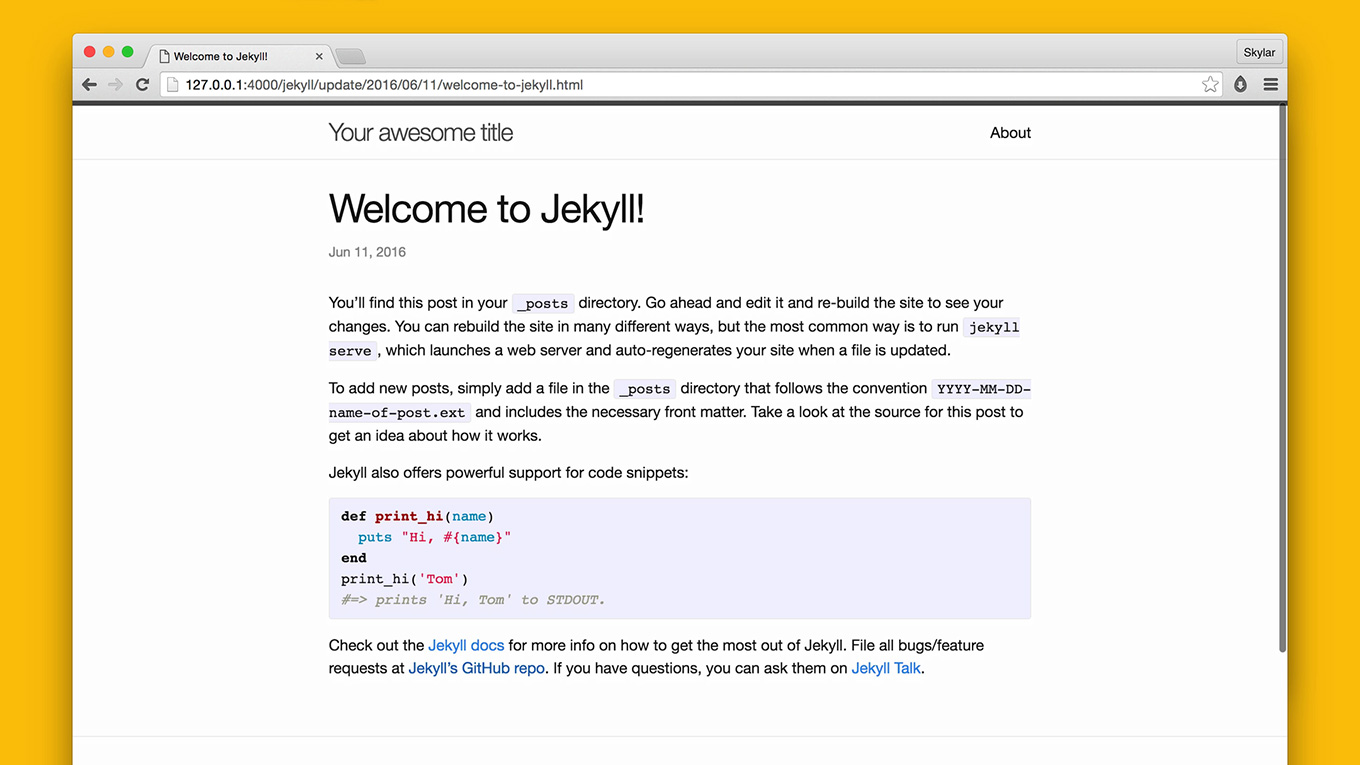
Previewing Jekyll locally
It’s nothing fancy, but you should see a “Welcome to Jekyll” post and an “About” page.
Next we can try making a small change.
Find the about page in the site’s root, called about.md. This file could also be called about.markdown if that’s your preference, either extension is fine.
So make a quick text change, and hit save in your text editor.
Now, refresh the browser and the text change should be immediately available.
Jekyll is working behind the scenes to automatically detect changes in the site’s files, so you don’t have to restart your server when making edits. The only exception to this is the _config.yml file.
Push to GitHub
Now that we’ve created a basic Jekyll site, we could grab the contents of _site and upload it just as it is to an FTP server.
But for this tutorial, we’ll take it a step further and push the site to GitHub so we can connect it with Siteleaf later.
In the video above, I’m using the GitHub Desktop app, but you can use your favorite Git tool here.
Below is how we can do the same from the command line.
First, we’ll initialize the local repository:
$ git init
Next, we’ll stage the files and commit changes:
$ git add .
$ git commit -m "initial commit"
Finally, we’ll add our remote GitHub repo and push to master:
$ git remote add origin https://github.com/username/my-site.git
$ git push origin master
And that’s it, you should now have a working Jekyll site on GitHub.
Next steps
To dive deeper, check out our help site learn.siteleaf.com and Jekyll’s official documentation.
Check out our next tutorial where we’ll show you how to sync your GitHub repo with Siteleaf.