Watch Customizing the Siteleaf admin on Vimeo
Siteleaf v2 was built to be customized. In this tutorial, we’ll dive deeper into the Siteleaf admin and learn some tricks on how to tweak the interface to suit our needs. We’ll cover collections, permalinks, metadata, smart fields, defaults, and user roles.
If you followed the previous tutorials, you should now have a basic understanding of Jekyll and the Siteleaf admin. Feel free to check those out first if you haven’t.
Watch the video above, or follow along with the text version below.
Collections
By default, you should have 2 content areas: Pages and Posts.
Pages is your home for standalone content like your about page, contact, FAQ, and so on. Pages can be drag and drop ordered, and nested using the move icon next to each page.
Posts is a default Jekyll collection that’s blog-aware, so each piece of content here (called documents) is stamped with a date, and generally shown in date-descending order.
The Posts collection also comes with some special features: drafts, tags, and categories.
If these features are useful to you, but the name “Posts” isn’t quite doing it for you, you’re welcome to rename this collection under Collection settings. For example, I might want to call mine “Stories” instead.
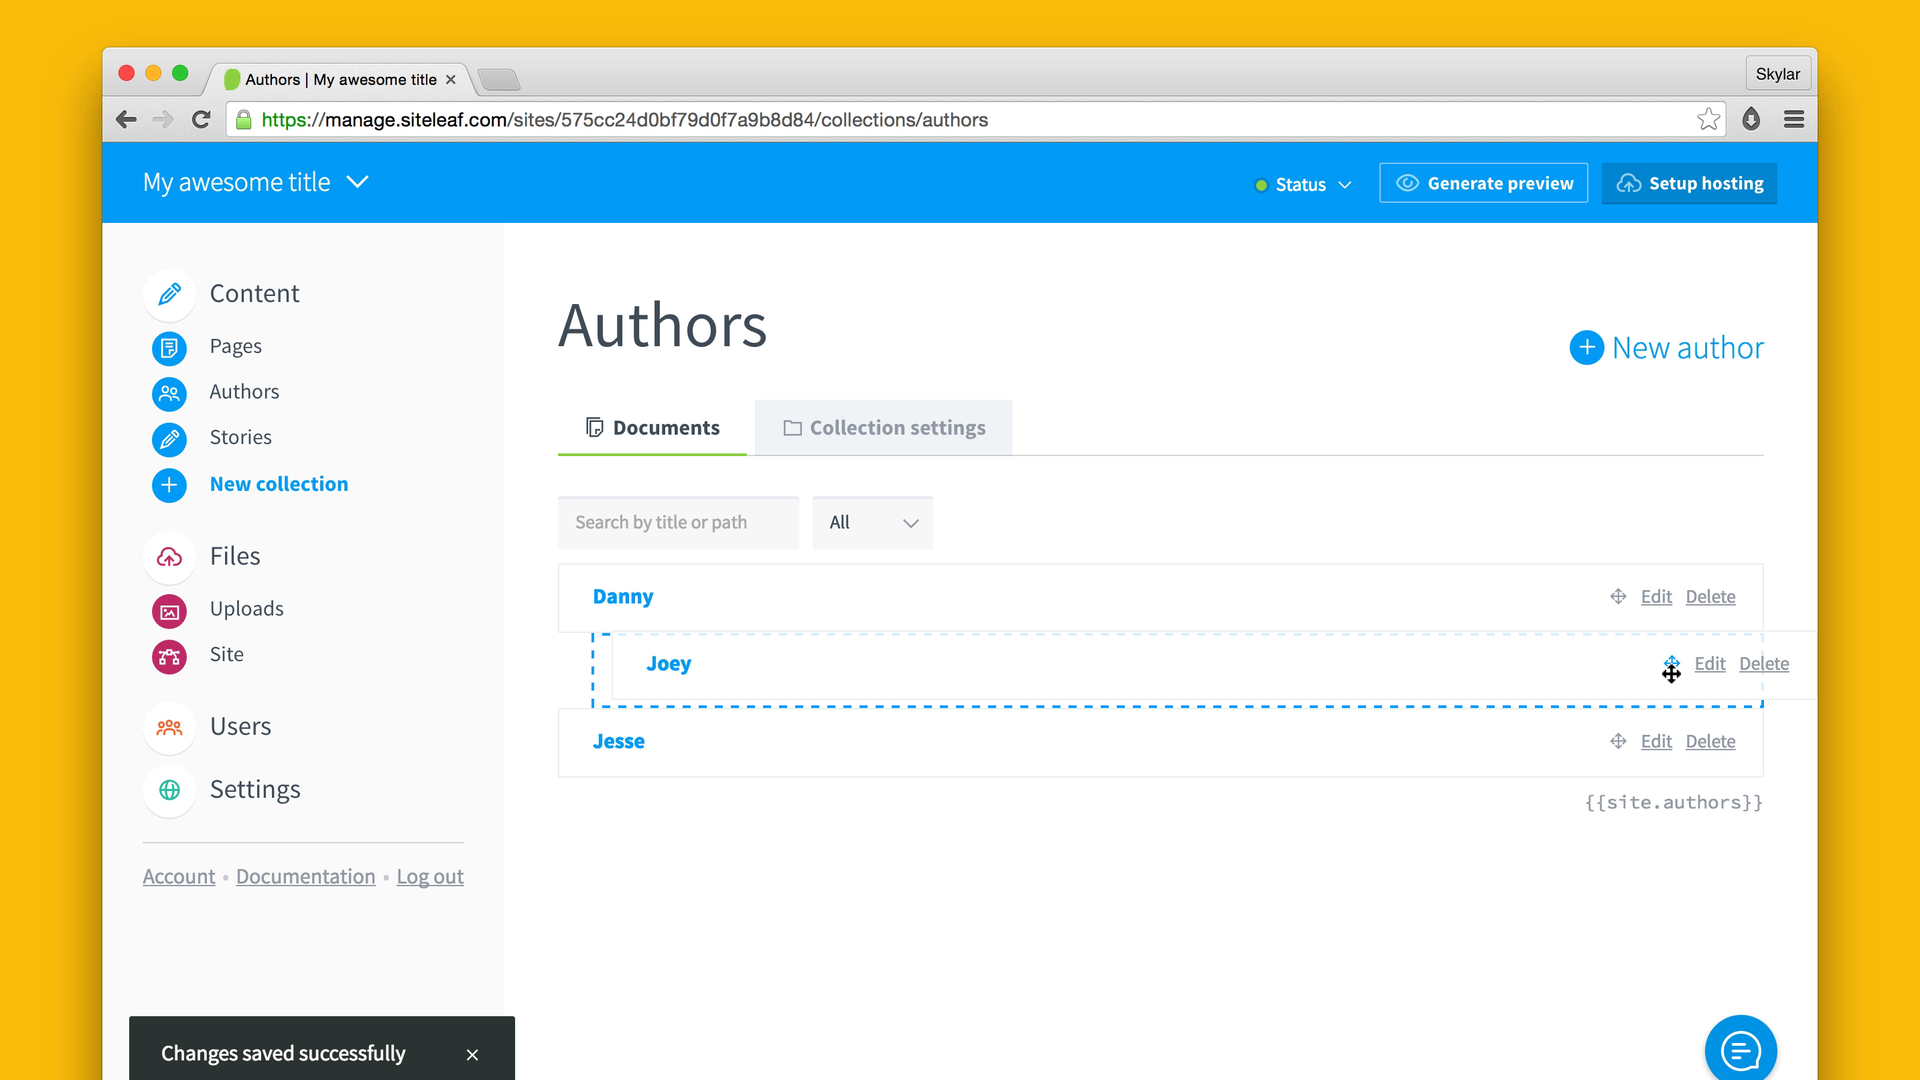
For sites that need a little more than Pages and Posts, you can create additional collection to group bits of content together. Just click New collection in the left sidebar, and give it a name. For my website, I want to a create a series of documents for authors. So I’ll enter “Authors” here.
The “Authors” collection will now show up in the sidebar next to Pages and Posts, and we can begin to create new author documents within. Like pages, documents within a collection can be reordered and even nested.
Keep in mind, you’ll need implement this sort behavior in your theme as well. Siteleaf will save a numeric position field to front matter for you, so you can apply a Liquid sort filter on this field.
{% assign sorted_authors = site.authors | sort:"position" %}
{% for author in sorted_authors %}
  <li>{{ author.title }}</li>
{% endfor %}
Permalinks
Within the new “Authors” collection, you’ll see a tab for Collection settings. Here you can decide whether you want documents in this collection to be outputted to your site. Feel free to turn this off if you don’t need a separate page (or “permalink”) generated for each document, and your site should render a little faster because of it.
For my site I do want a unique page for each author, so I’ll leave it on.
By default, documents will have the permalink structure /:collection/:path (e.g. /authors/danny).
In addition to the site-wide permalink setting (typically set to date or pretty), you can customize collection permalinks in two ways:
First, you can define a global permalink format for all documents in this particular collection. Just enter your preferred format here in the collection’s Permalink field (e.g. /awesome/:path).
For pretty URLs, end your permalink setting with a trailing slash (e.g. /awesome/:path/). You can refer to Jekyll’s documentation for a full list of accepted permalink variables.
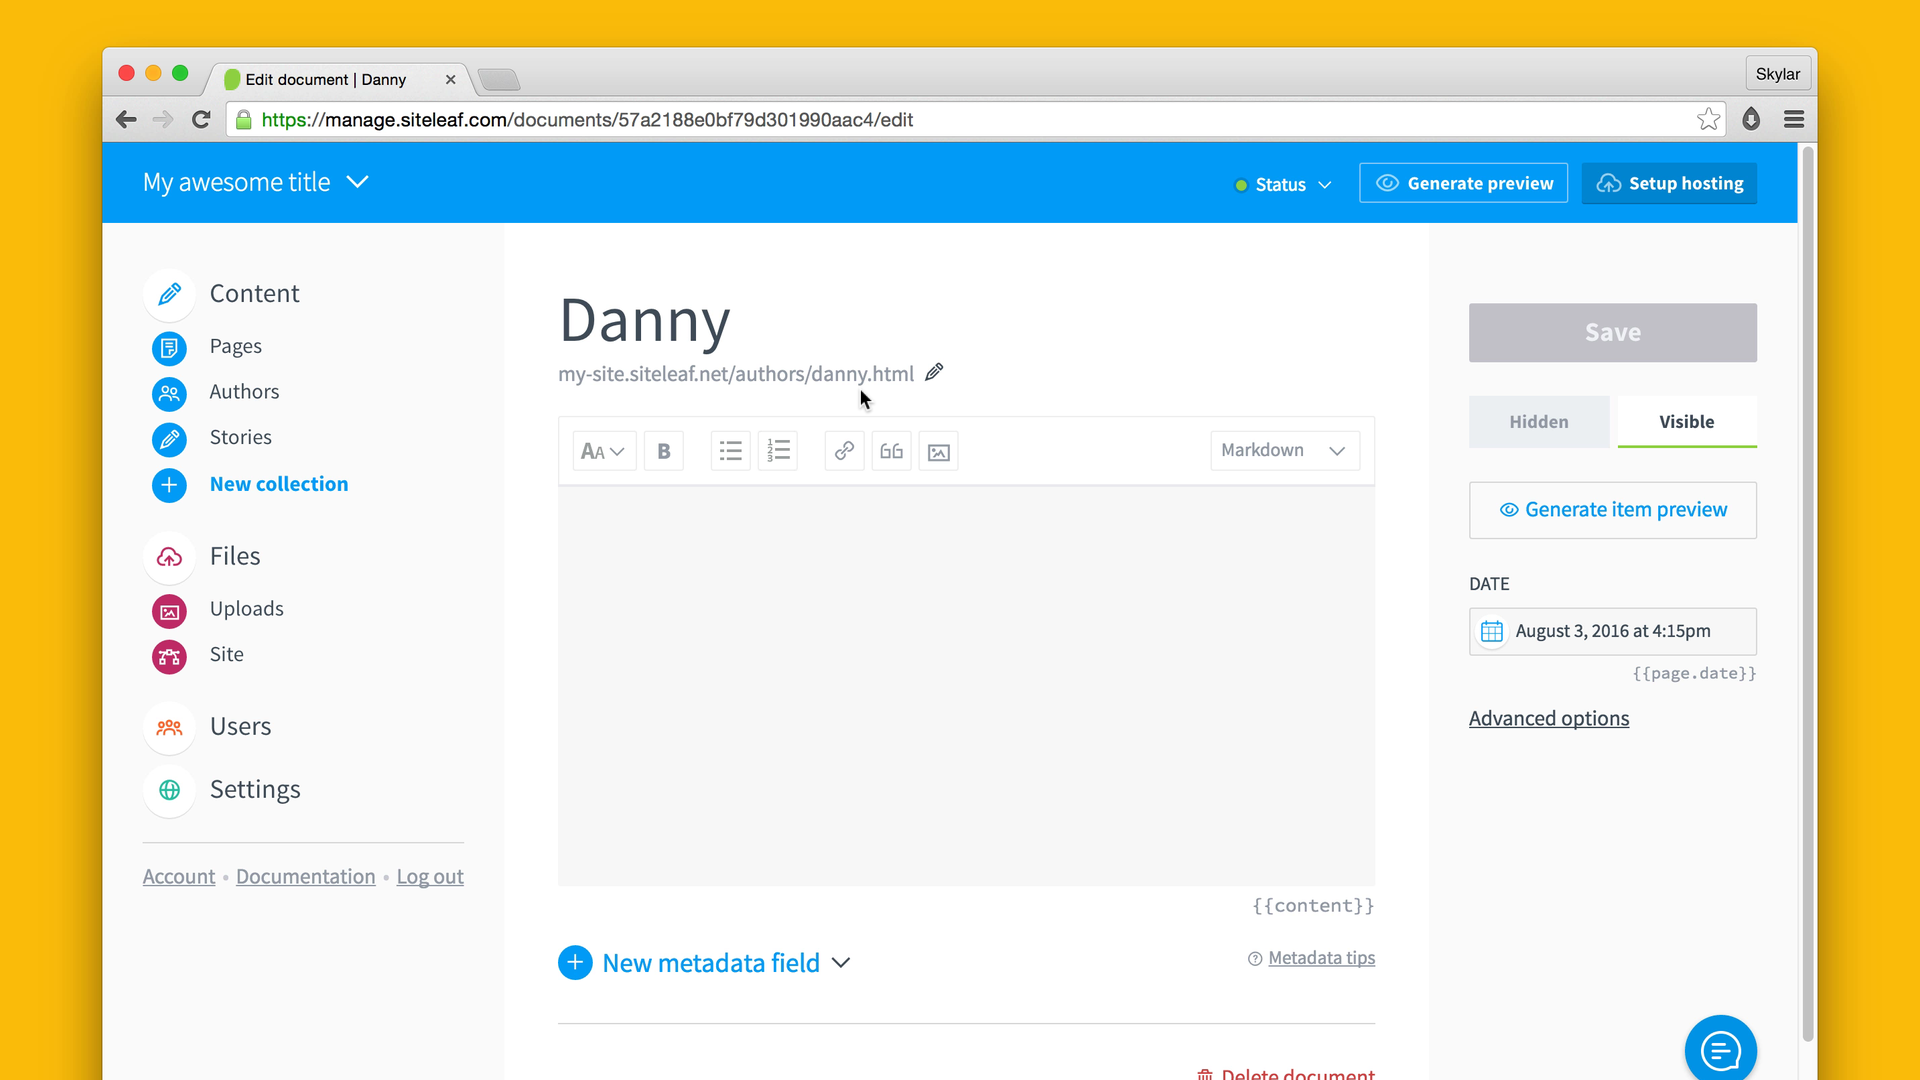
Second, if you only want to change a single document’s permalink, you can do that right within the document itself. If you are happy with the folder structure, but just want to customize the document’s slug (the last part of the URL), you can do that by clicking the path edit icon under the title.
To override this structure entirely, you can expand Advanced options and fill in any URL of your choice in the document’s Permalink field (e.g. /tanner/ or /tanner.html). This behavior is also available on pages.
Metadata
Metadata are additional pieces of data which you can attach to your pages, documents, collections, and even site-wide. Metadata fields give you a ton of power and flexibility to create a system that fits your content.
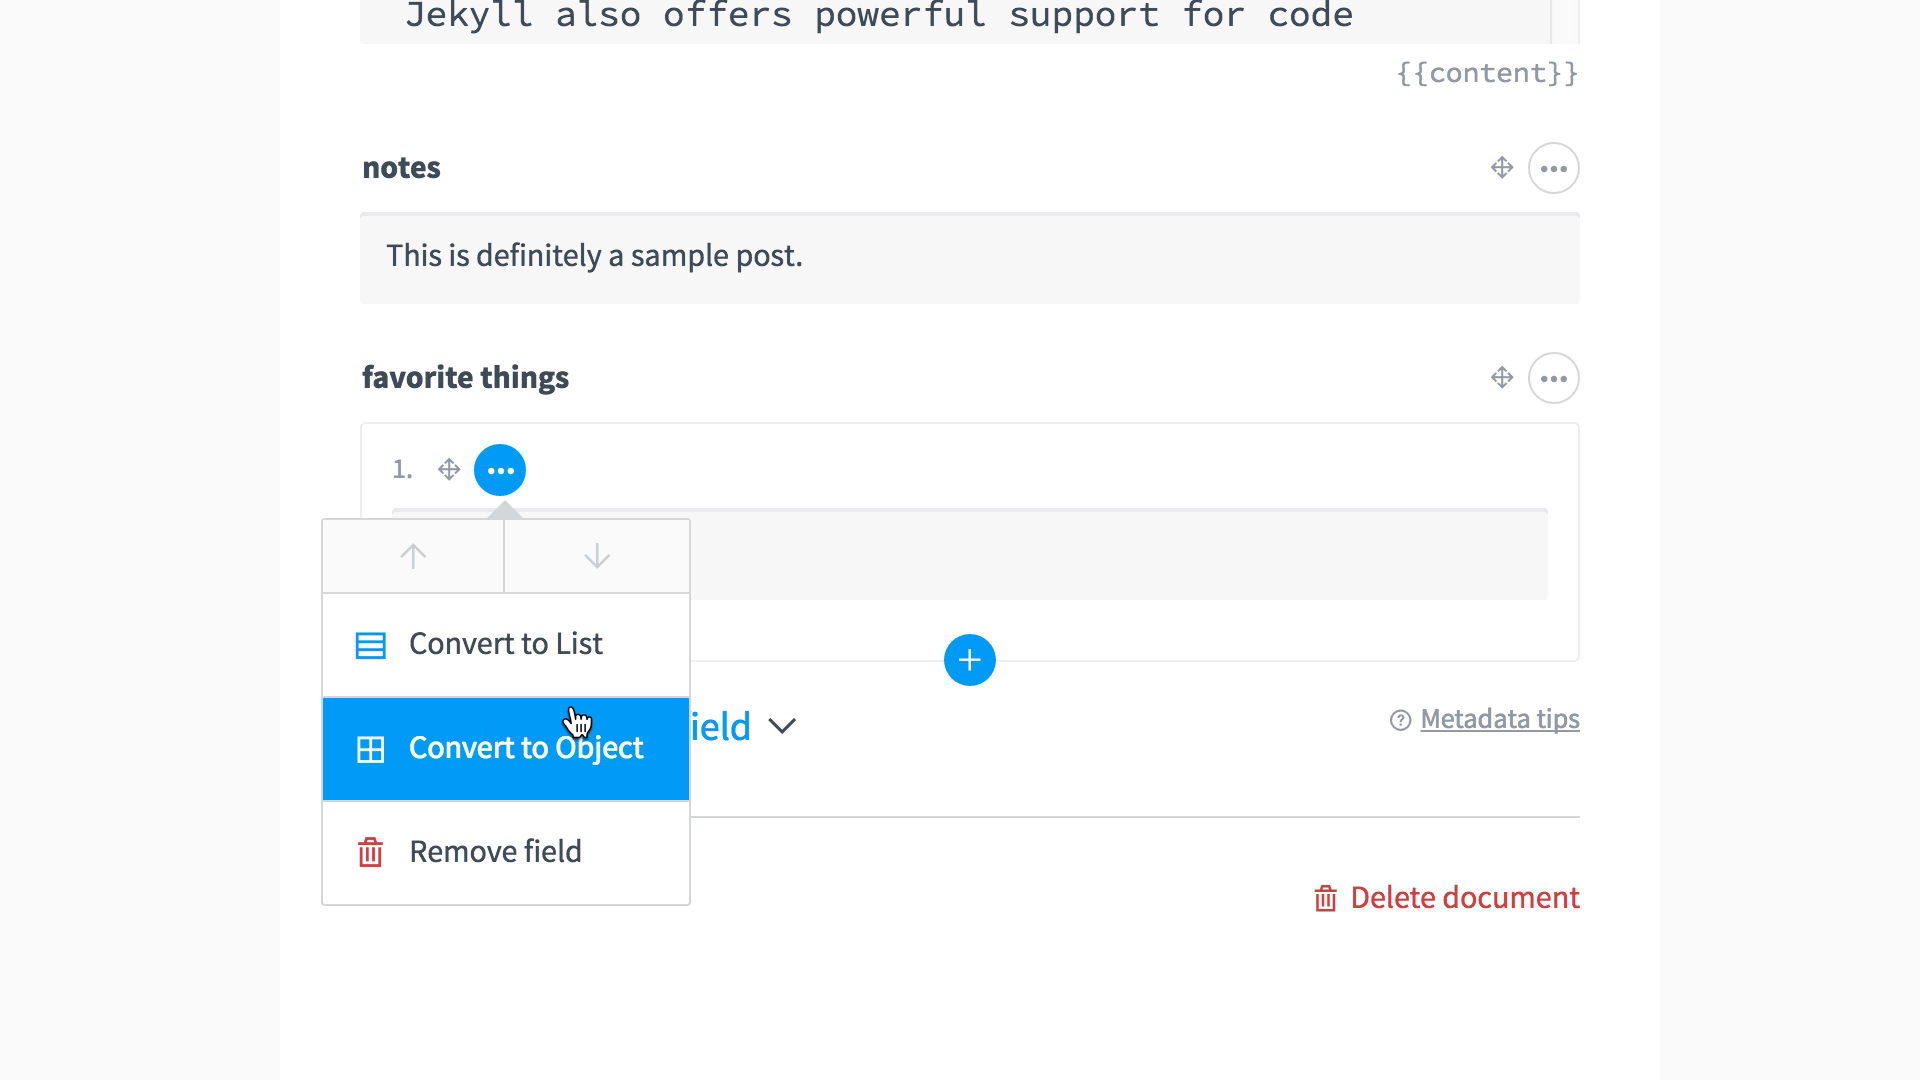
In addition to simple metadata like strings, Siteleaf also supports arrays (which we call Lists) and nested key-value pairs (which we call Objects). To change an existing field’s type, click the ellipsis icon next to the field and choose convert.
All metadata is drag and drop sortable, and infinitely nestable.
Site
Site metadata is located under Settings > General. This is handy for site-wide variables like copyright info or social media handles. Metadata here can be accessed in your theme using {{ site.field_name }}, or square brackets (e.g. site['field name']) if your field name contains a space. These fields will be saved to your site’s _config.yml file, along with Jekyll configuration settings.
Siteleaf will show Jekyll configuration settings as locked to prevent accidental edits, but as an admin, you can toggle these on by clicking Unlock advanced fields.
Collection
You can also add metadata at the collection level, under Collection settings. This is handy if you have many collections, and want to provide some additional context for each, like an icon or description. Metadata here can be accessed in your theme within the {{ site.collections }}, and is also saved in your _config.yml file.
{% for collection in site.collections %}
  <h2>{{ collection.title }}</h2>
  <p>{{ collection.intro }}</p>
{% endfor %}
Pages and Documents
Finally, you can add metadata to individual documents and pages. This is useful for adding supporting content like images, text snippets, related links, authors, and more. Metadata here can be accessed using {{ page.field_name }}, and is equivalent to Jekyll front matter.
Smart fields
In addition to regular metadata fields, Siteleaf will pick up on what we call smart field names.

To get a file uploader, name your field (or end it) with asset, file, or image. For example, header image or pdf_file. You should see an upload icon appear, and an image preview once a file has been chosen. This also works with multiple files in a list, which is perfect for a simple slideshow or gallery.
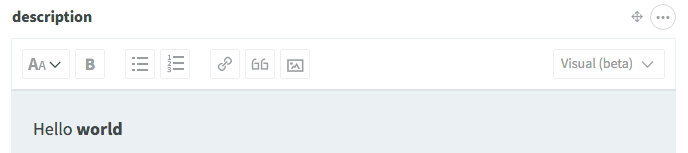
For a full text editor, use body, description, excerpt, md, or text.
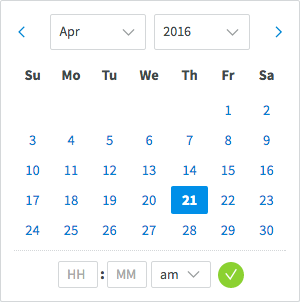
For a date/time picker, use “at”, “date”, or “datetime”. For example, starts at or event_date.

For a boolean or checkbox, start your field name with is, has, or was. For example, is featured or has_registration.
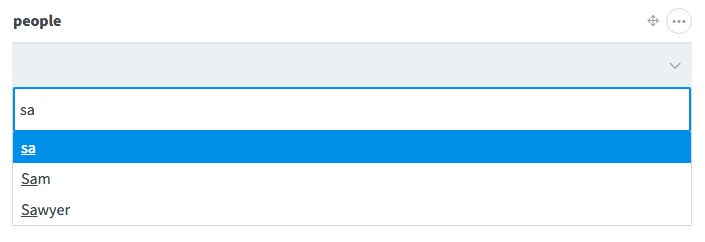
Siteleaf also supports “collection fields” to associate documents from other collections. Since we have a collection called “Authors”, we can add a field called author (or authors) to this document. This field will automatically pull in a list our authors, and we can choose one or more to form an association. This works a little like a relational database, and is a great way to add additional taxonomy groups to your content.

And finally you can get a color picker by ending your field name with color or specific formats like hex or rgb. This is handy for adding configurable accent or background colors to your posts.
Defaults
Now that we’ve created a few metadata fields, we also might want to take advantage of default fields to have certain fields show up automatically on new documents and pages. This way our editors only need to fill in the blanks.
Defaults are located in Jekyll’s _config.yml file, and can be applied site-wide, or scoped to a particular collection (using type) or directory (using path).
Assuming I want to apply some defaults to all posts, I can write some defaults scoped to posts:
defaults:
- scope:
    type: posts
  values:
    is featured: false
    image: # blank values are okay here
    layout: post
You can include values to be used as fallback, or just define the basic structure here to help editors out. A good trick is to copy and paste the existing metadata structure from the front matter of one of your existing documents.
You can refer to our documentation for more on the syntax, and remember to use smart field names here to customize the UI.
Now when we create a new post, we should see these default fields and any values we provided. Defaults are also merged into existing posts to provide consistent structure and fallback values. Content editors can fill these fields out, or leave them blank to accept the default values.
User roles
Now that we have the CMS customized to our liking, it’s time to invite some editors. Going into the Users section, we can see a list of everyone currently added to the site, and invite users by email address.
If you are on a Team plan or higher, you can control permissions with user roles.
Admin gives full privileges, allowing the user to manage and publish all content and theme files. This is great for people who are helping build the site, like a developer or designer.
Publisher is similar to an admin, but prevents access to theme files or site settings. This is an ideal role for non-technical content editors or clients.
Writer is the most limited role. These users can only create and manage their own content. And only in draft or hidden mode, they cannot publish content live on their own.
So you can keep that in mind when inviting users and decide how much permission you wish to give them.
Next steps
For further reading and examples check out our help site learn.siteleaf.com.
Stay tuned to our blog for more tutorials!